Christmas Ornament to Make
{Air-dry Clay}

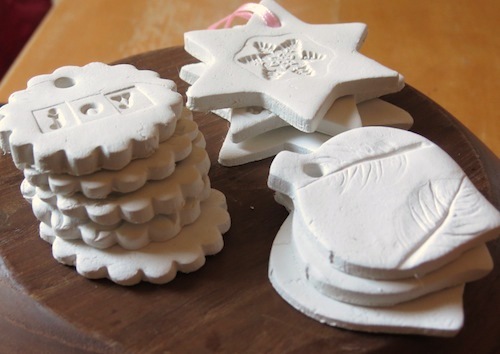
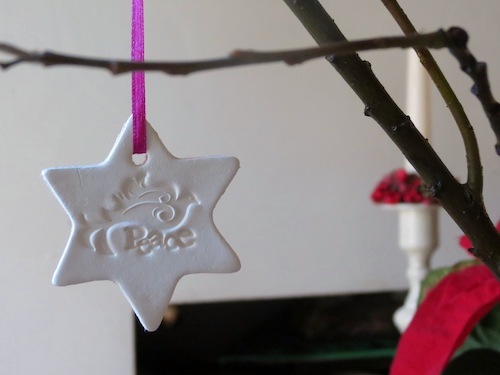
This Christmas ornament to make out of air dry clay is a quick and rewarding craft to do in an evening or with friends. What you get are beautiful homemade Christmas ornaments to hang on your tree or gift to your friends and family.
I love making these ornaments because they are so easy, really pretty and make really versatile gifts.
White air-dry clay dries fast and when it has you get a sort of porcelain effect. It's also really easy to shape with cookie-cutters and decorate with objects and different Christmas-themed stamps.
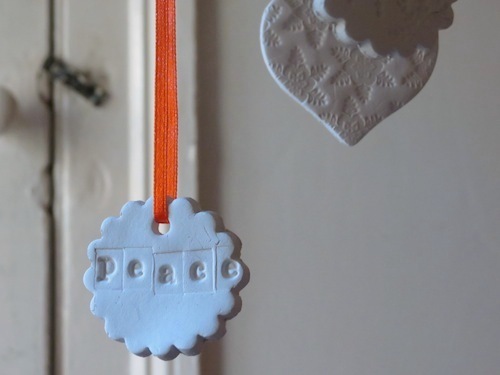
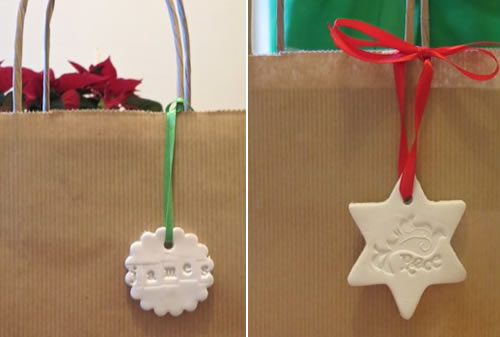
You can then hang them up with ribbon to make christmas tree ornaments, string them up on cut branches or tie them to gift-bags. You can even paint them if you like!
Materials
To make this Christmas ornament you will need:
- White Air-Dry Clay (if you want to make loads and experiment with larger ornament sizes get several packets!) But remember, large ornaments take longer to dry...
- Christmas-themed cookie cutters
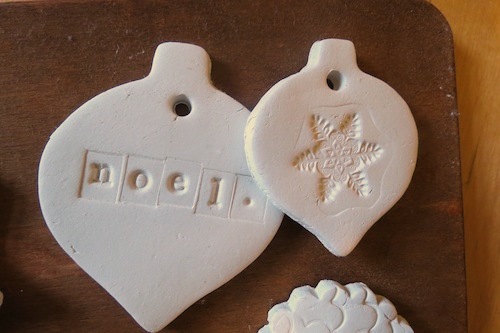
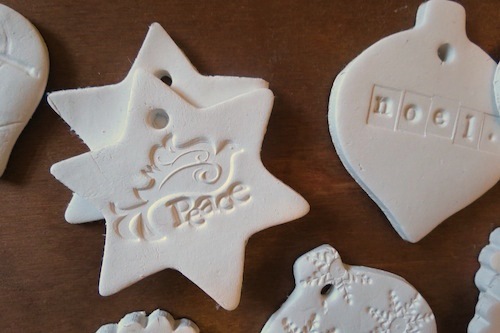
- Stamps, e.g. snowflakes, doves, stars, snowmen, trees, season greetings stamps, names...
- Objects, like lace, leaves, foliage for making impressions in the clay
- Metal rack, for drying the ornaments
- Ribbon, string or strong threads
- Hole borer, a small metal cylinder to make a hole in the clay for hanging. I used one that came with a set of cookie-cutters, but you could use the end of a thin pencil or a skewer.
- Rolling pin
- Knife, for cutting clay
- Metal spatula or egg flip, for transferring ornaments onto drying rack
Instructions to make Christmas ornament
Step 1
Gather as many Christmas-themed stamps, cookie-cutters, ribbons and any objects that make interesting impressions in clay - I found a leaf, some lace, the edges of a cookie cutter... but you could also try feathers, fir branches and cones, coins, anything really that has an interesting pattern.
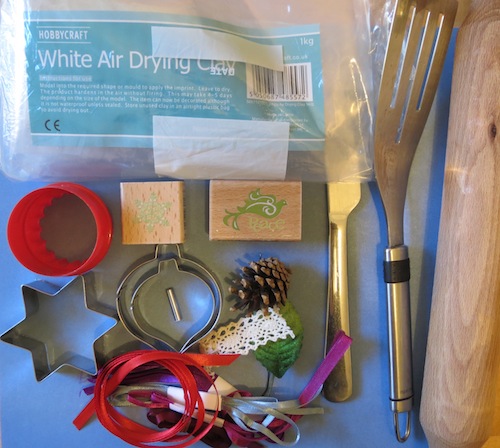
Now, find a smooth surface to work on, like oil-cloth or a smooth plastic mat. I started out on a wooden table but quickly stopped as the clay picks up any texture in a surface!
Step 2
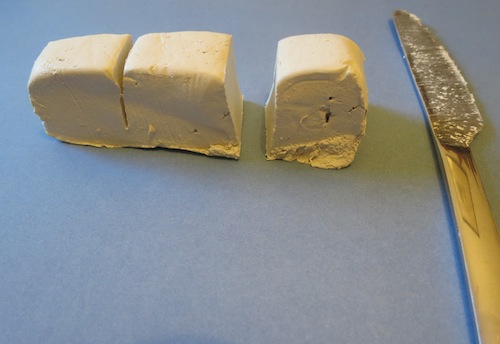
Cut some clay off your block ready to role.
I found the best way was cutting strips of clay and then cutting each strip into about three cubes. You then can roll out each cube into a rough circle with your rolling pin.
Working with air-dry clay
I found that the more you work this clay the more it dries and gets a bit fibrous. This can make your resulting ornaments less smooth.
Try to roll the clay out flat in a few moves with the rolling pin and don't work it too much.
If you make your ornaments too thin they will crack more easily or curl at the edges. After experimenting I found that the optimal size for my ornaments was about 1/4 inch (0.5 cm) thick.
Step 3
Ensure that your clay is evenly rolled to about 1/4 inch (0.5 cm) thick.
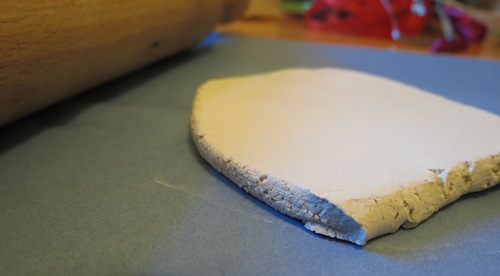
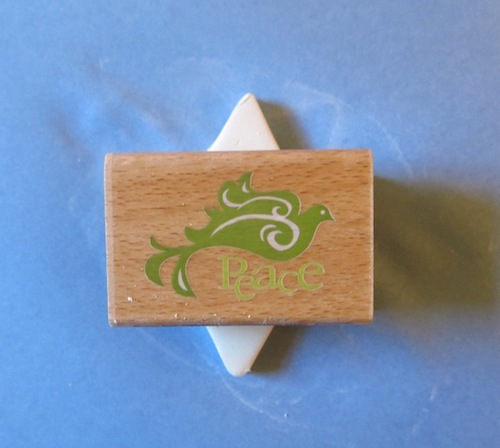
Choose a stamp or objects and press it into the clay at the point where you want your ornament to be.
You can do these decorative impressions after you have used the cookie-cutter to cut out the ornament, but I found that with some decorations I got a better overall edge to the ornament when cutting it out after decorating the clay.
Step 4
Choose the cookie-cutter shape you want and cut out the clay ornament.

Then use the borer to make a hole at the top of the ornament.
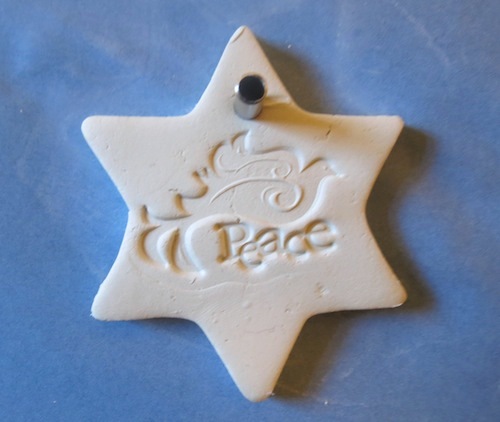
Take the metal spatula and carefully slide it under the ornament and move it onto the drying rack.
Take the discarded edges of clay and re work to make a new ornament (again, I find the finished texture on reworked clay a little less smooth, but it works fine).
Step 5
Leave your ornaments to dry. I found that after about 24 hours they you could handle them easily but it took 48 hours before I felt they were properly dry.
Choose different ribbons or string and thread through the holes.
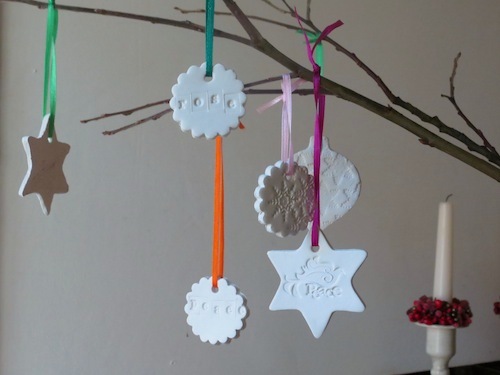
And now you have wonderful tree ornaments or lovely objects to decorate gift bags.
I really enjoyed making personalized ornaments with the name of a friend or their child and I hung it on their Christmas gift bag...
Other Christmas Ornaments to Make
Making homemade Christmas decorations is such a fun activity! If you're looking for more easy to make Christmas ornaments do take a peek at some of our other projects:
Or see my complete collection of homemade Christmas ornament tutorials.
