How to Make a Star
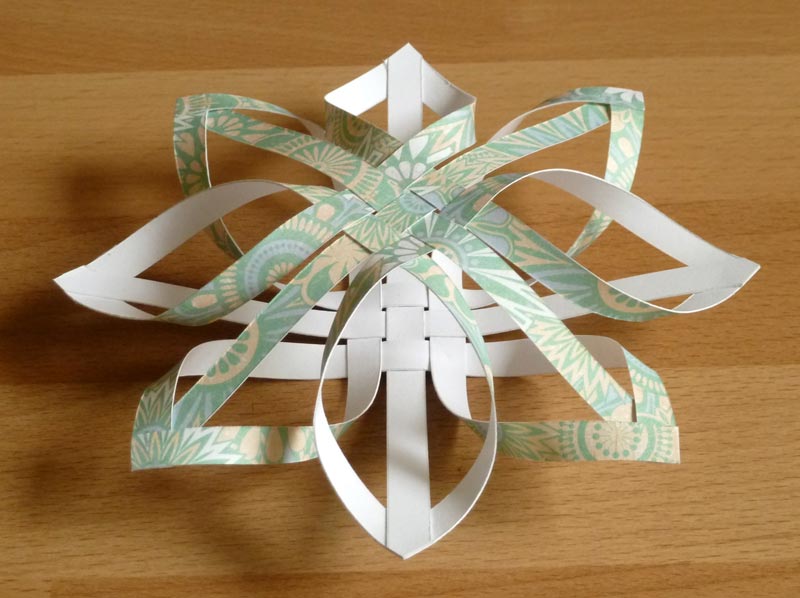
Learn how to make a star out of paper strips to create a beautiful ornament for your Christmas tree!
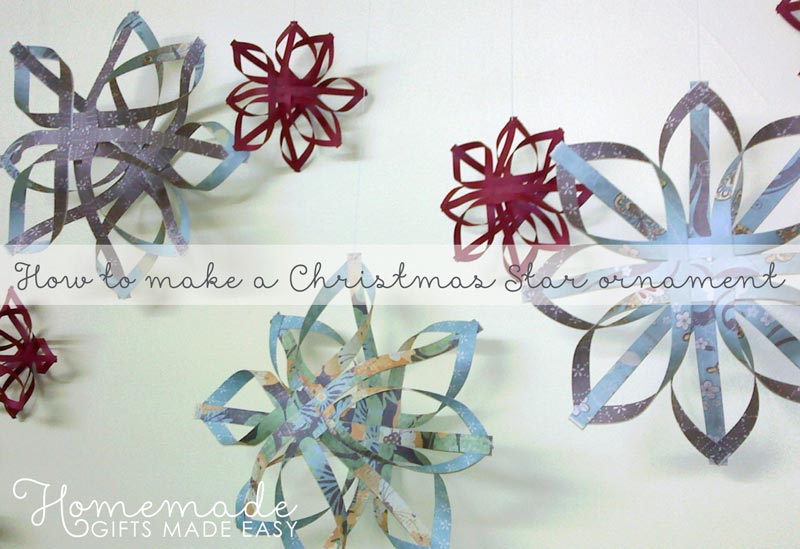
These star Christmas ornaments will look lovely hung on your Xmas tree or in your window!
The thing I love about these Christmas tree stars is that they look so woven and intricate, and yet the method for how to make a star like this is incredibly easy. In fact they're so easy that in Finland these are a popular decoration for children to make!
Because of the intricate design, I think these star decorations look a little bit like snow-flakes, don't you? If you wondering how to make paper snowflakes then these could be an option, although they have 8 points instead of 6.
How to Make a Star - Materials
For this project you will need:
- Some nice scrapbooking paper or card stock. 6" by 3" is enough for one star
- Scissors
- Ruler
- Glue stick
- Thread to hang your star
That's it! This project is a good way to use up offcuts of wrapping paper or scrapbooking card stock. I generally prefer making these stars out of card stock rather than paper, because the stiffness makes it a little easier to work with.
How to Make a Star
Ornament for Your Christmas Tree
Here's a video I found on youtube (not mine) that explains how to make a star of this style:
Or, you can follow my step-by-step photos below:
Step 1
Cut 12 strips of paper or card, each about 6" by ¼" (15 cm by 0.7 cm).
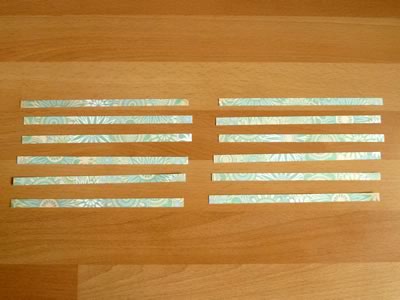
Using strips this size will make a star about 5 ½" wide. Of course you can scale the size up or down if you like!
Step 2
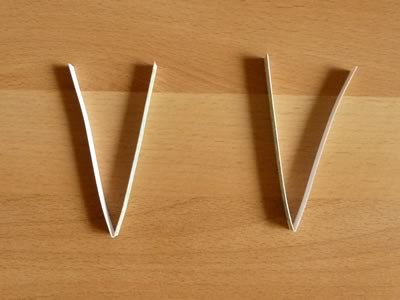
Take two of the strips and fold them in half. This is so that you'll be able to see where the center of each strip is for the next step.
Step 3
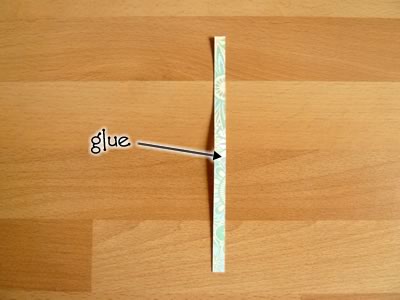
Take one of the two strips you folded and place it vertically on the table, then glue a small patch at the center of the strip with your glue stick. If your paper has a colored side and a blank side, then make sure you put it colored-side up.
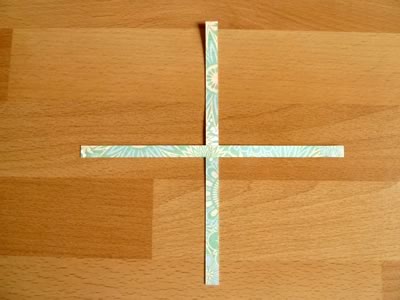
Lay the other strip across the first strip at right angles so that the two get glued together.
Step 4
Glue two small patches of glue on the horizontal strip, as indicated here:
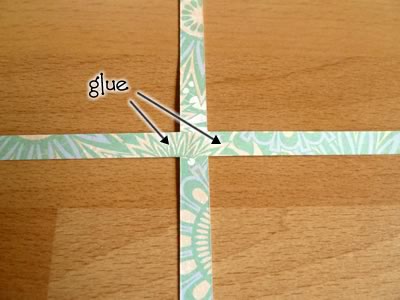
Place two more strips vertically next on either side of the first strip onto the patches you just glued.
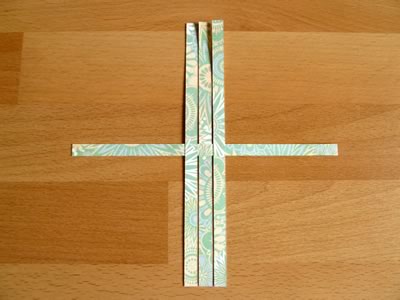
Step 5
Put down small patches of glue in the positions indicated here:
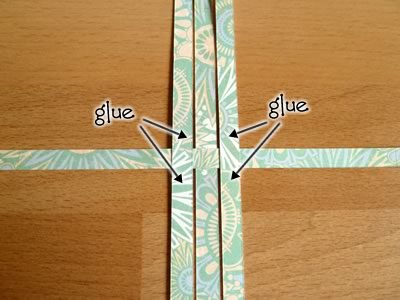
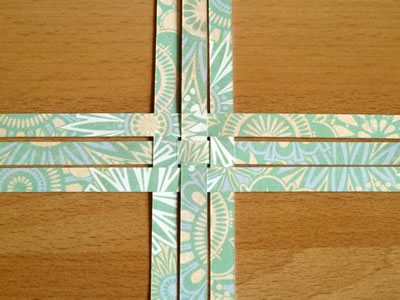
Place two more strips horizontally, so that they weave over and under the strips that are already there. They will get glued down with the patches of you just glued.
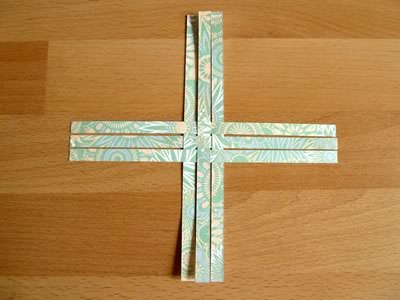
Here's a close-up showing how the strips are woven:
Step 6
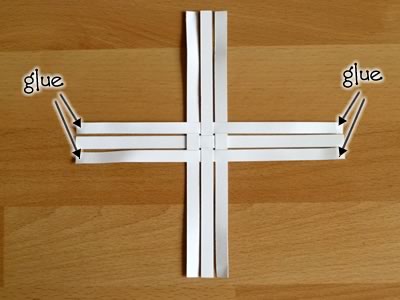
Turn over the mat you've woven, so that the blank side faces up. Then put glue on the tips of the strips, as shown in the picture below:
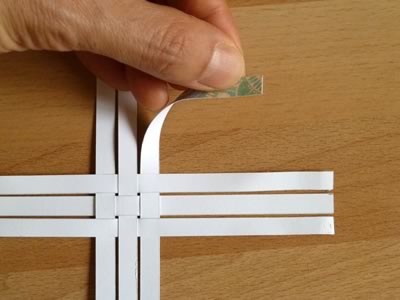
Take hold of the top-right strip, and bend it over like this:
Then take of the strip next to it, bend it over, and glue it to the first strip to make a "petal" like this:
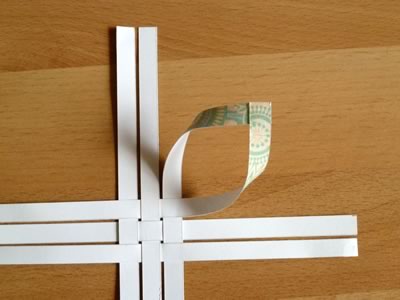
Repeat for the other four corners. Your half-finished star should now look like this:
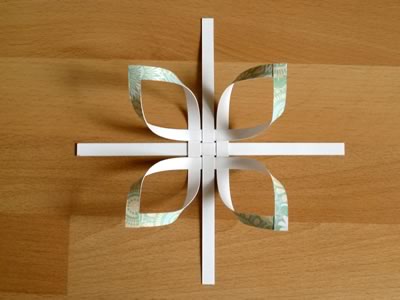
Step 7
Repeat steps 2 to 6, so that you have two half-stars like this:
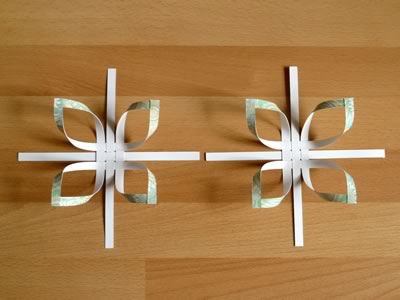
Step 8
Place one half star on top of the other, offset by 45° so that the "petals" of one half line up with the strips of the other half. Also, the petals of the two halves should face inward so that the two halves "hug" each other.
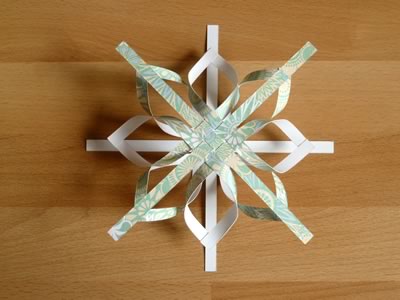
Here's a side view showing how the petals face inward:
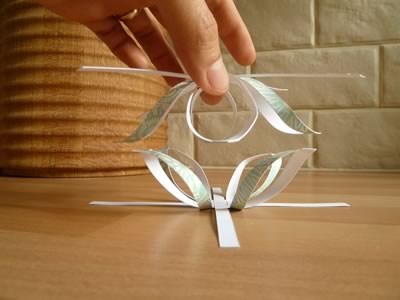
Step 9
Put glue on the tip of one petal, as indicated here:
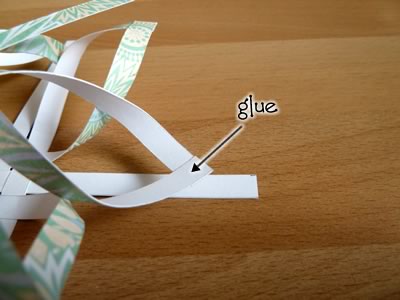
Feed the strip through the loop of the petal, and glue it to the petal, as shown below. The strip should extend roughly ¼" (between 0.5 and 1 cm) beyond the petal, depending on how long your strips are. Basically when you put the halves together you'll see that the strips naturally extend a bit beyond the petals, and you just want to glue them in the position they are naturally in.
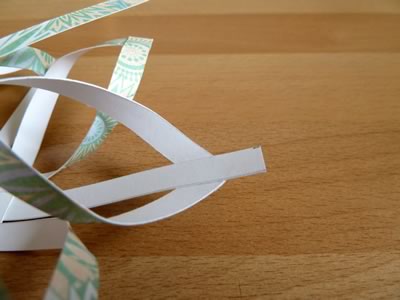
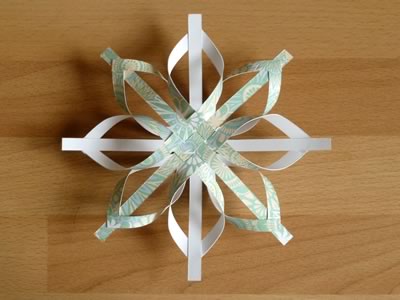
Do the same thing for all the other pairs of petals and strips. Your star should now look like this:
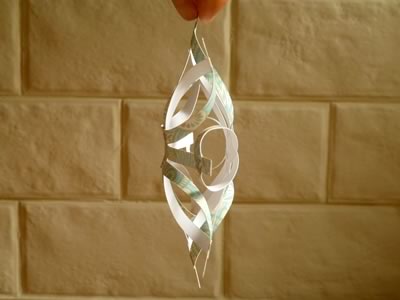
Here's a side view of the star once all the strips and petals are glued together. As you can see it has a nice kind of 3D look.
Step 10
Optionally, you can trim the arms of the star so that they end in points like this:
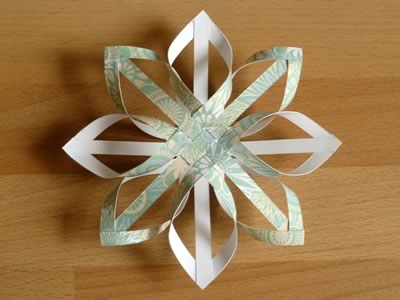
Here's an angled photo of the finished star with trimmed points:
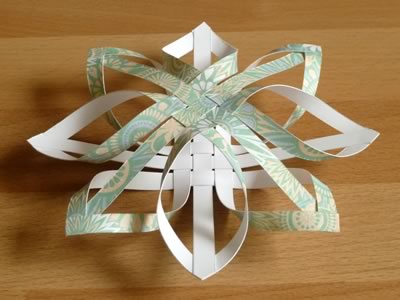
Finished!
I hope you had fun learning how to make a star. If you have any questions or comments, or just want to say hi, please contact me with this handy form . Here are a few more photos of the finished stars...
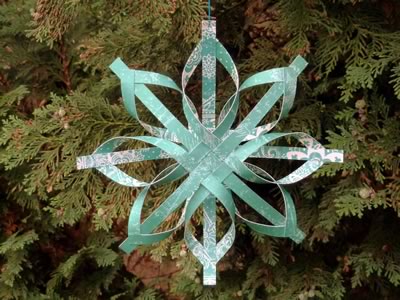
Star hanging on the Christmas tree:
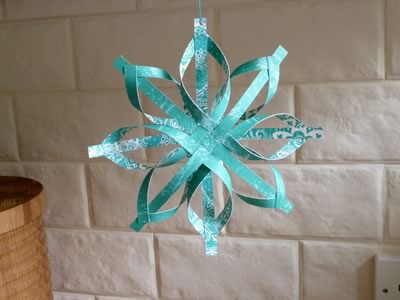
Another star ornament hanging in my kitchen, just for the fun of it :-)
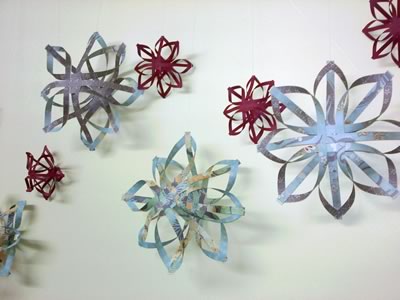
Here are some stars that reader Heike made to brighten up her office wall- thanks for sending in your photo Heike! I think the colors are beautiful.
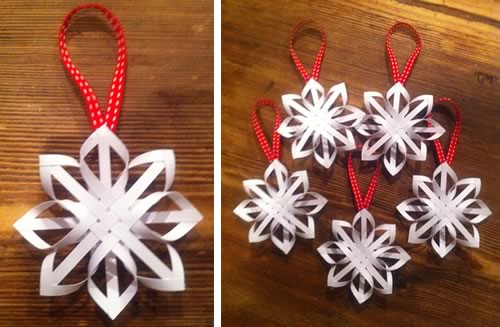
And here are some stars that reader Clare made as Xmas decorations - thanks for sending in your photos Clare! Nice idea to use ribbon for hanging too.
Variations
You can make a beautiful, delicate-looking star by using longer, thinner strips of card or paper. Here's one I made with 8" by ⅕" strips of office printer paper.
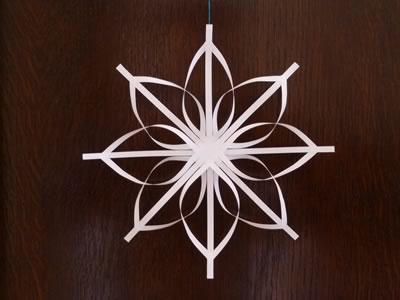
If you make a delicate star like this, then it helps if you actually glue the two star-halves together at their centers (i.e. the woven sections), to give the star a bit more support and structure.
More Star designs...
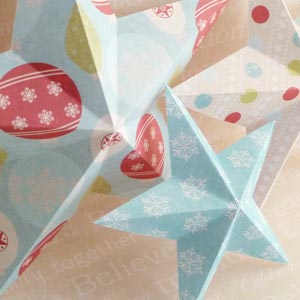
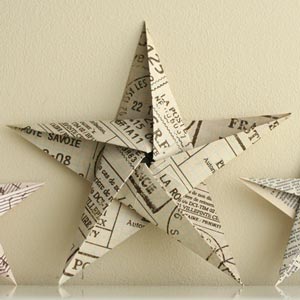
Check out the projects below for how to make a star in other ways:
... or take a look at my full collection of DIY Christmas ornaments .
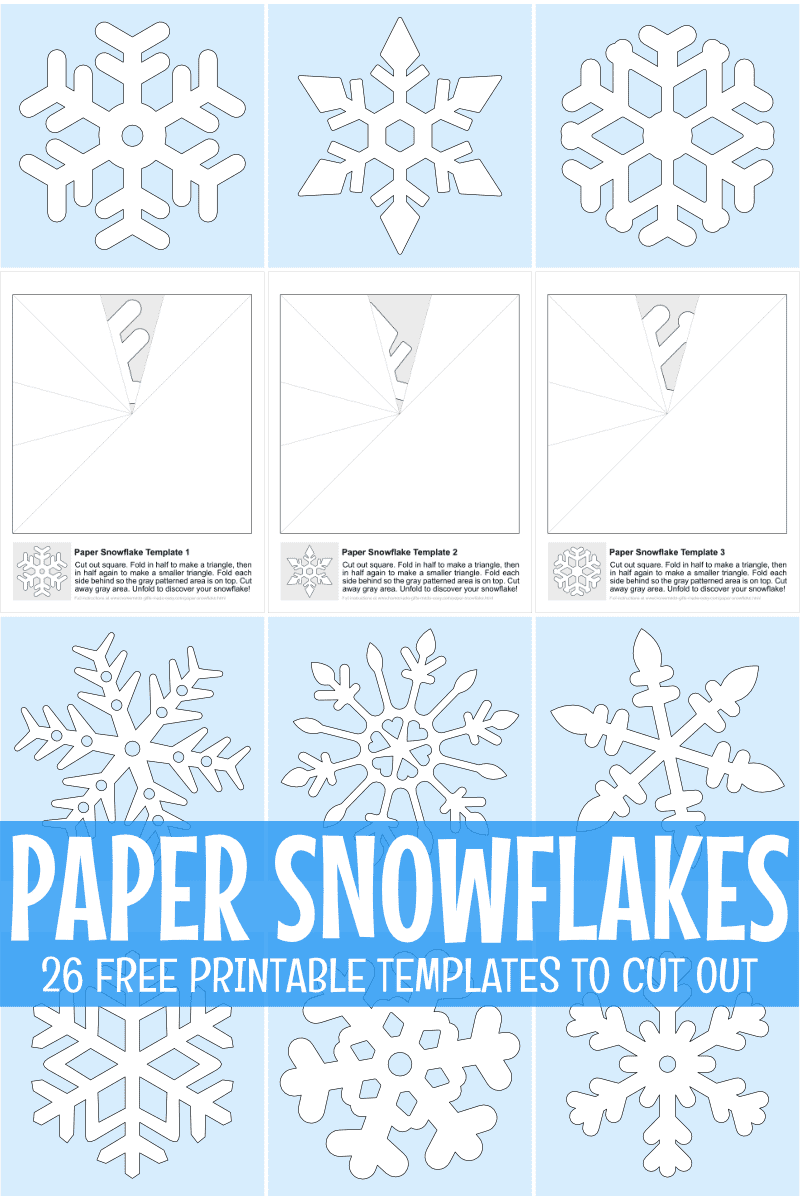
Free Printable Paper Snowflake Templates
Dive into a winter wonderland with our easy step-by-step tutorial on how to make paper snowflakes! Discover a flurry of free printable snowflake patterns, ensuring you can snip and snap your way to the perfect frosty creation in no time! Whether you're decorating for the festive season or just looking for a cozy craft project, our templates offer a touch of snowy magic for everyone. ❄️✂️
Popular Christmas Gifts Other People Like...
Check out these beautiful printable gift ideas for Christmas. So easy to personalize and print at home!

