Making Christmas Decorations
3D Paper Stars and More

Welcome to my tutorials for making Christmas decorations! I'll show you how to make 3D paper stars, plus loads other beautiful homemade ornaments like balls, wreaths, snowmen, and bunting.
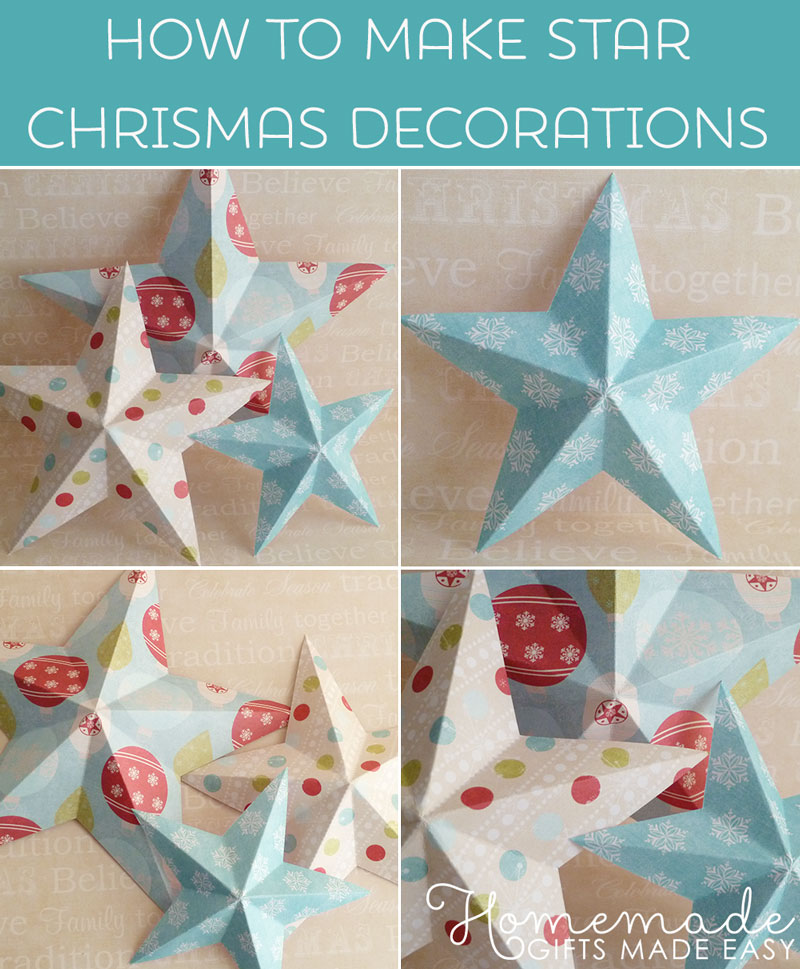
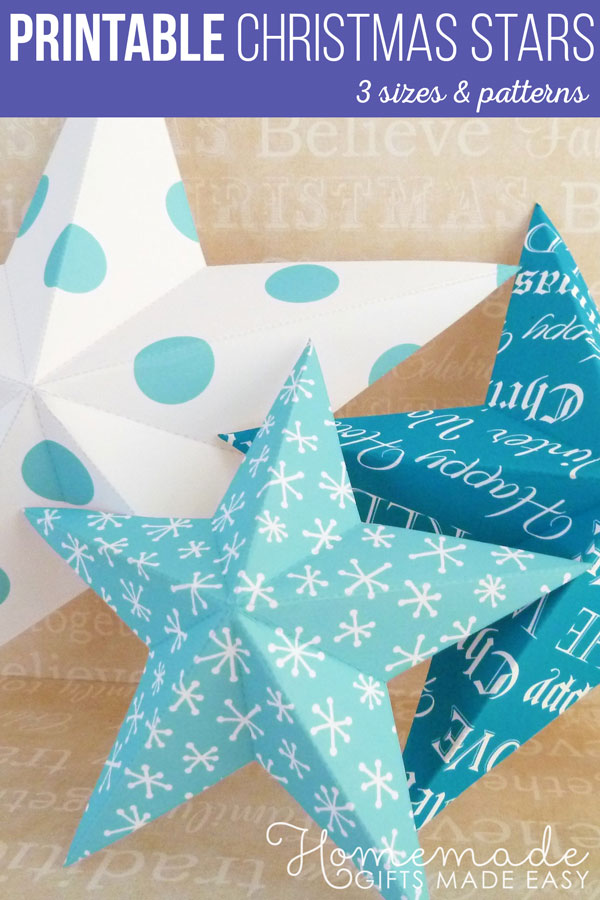
On this page I'll show you how to make these beautiful paper stars:
They'll look lovely hanging on your Christmas tree or even just brightening your mantlepiece. They're super easy to make, especially when you use my free downloadable templates.
Want to make other decorations?
This page is mostly about 3D stars, but if you're interested in making Christmas decorations of other designs then check out my other Xmas ornament projects:
3D Christmas Star Instructions
I'll show you how to make a 3D star in two different styles. These ones are single sided:
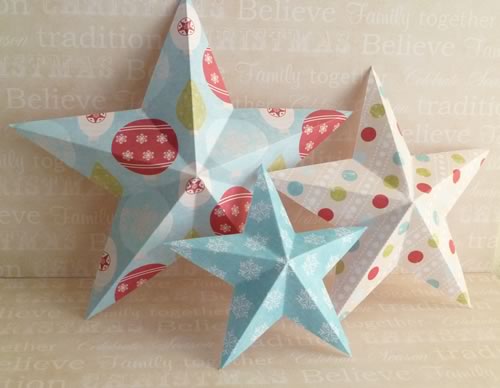
Single-sided 3D Star Christmas Decorations
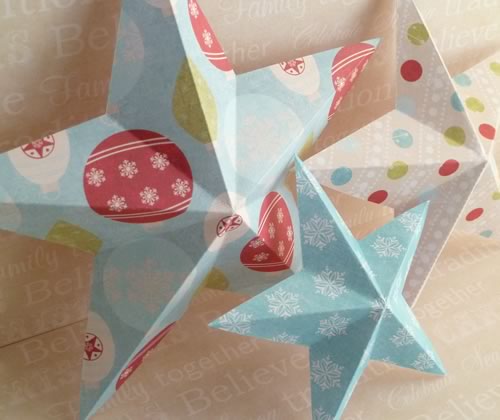
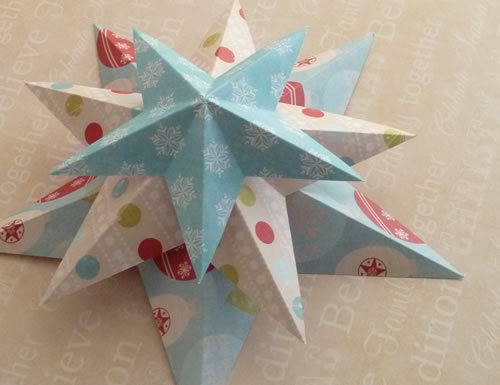
...and this one is double sided:
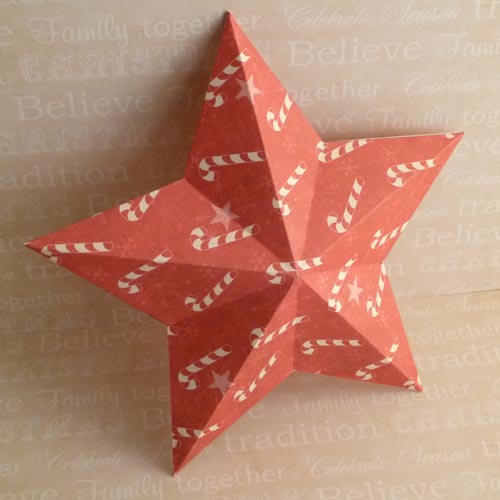
Double-sided 3D Star Christmas Decoration
The single sided ones are great if you're only ever going to see the front side of the star, e.g. for on your mantlepiece, or on your wall, or for embellishing a wreath. The double sided style is great for making decorations that you can hang from your tree or put on top of your tree, where you're likely to see the star from all angles.
Materials for Making Christmas Decorations Stars
To make a paper star, you will need:
- Scrapbooking paper
- Scissors
- Glue stick (only for double sided stars)
- Printer, for printing the templates
Single-sided 3D Star Instructions
Step 1: Cut out star
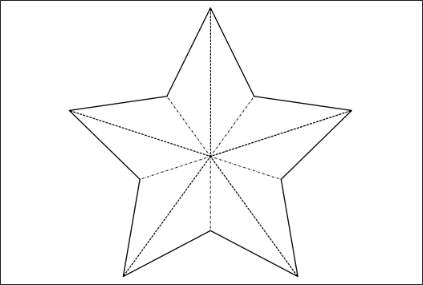
Download the star template. It comes with three sizes of star, which are approximately 8, 6, and 4.5 inches.
Click to download 3d star template
I printed the template directly onto the back of my scrapbooking paper. You could also just print it onto normal paper and then trace it onto your scrapbooking paper. Either way, cut out your star shape like this:
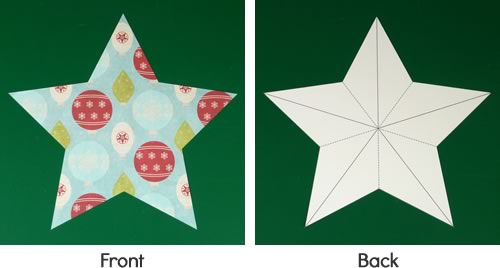
If you traced the star then you won't have the lines on the back but it doesn't really matter.
Step 2: Folding
Place the star blank side up, then fold one of the arms of the star in half like this. The fold only needs to go to the middle of the star, not all the way across.
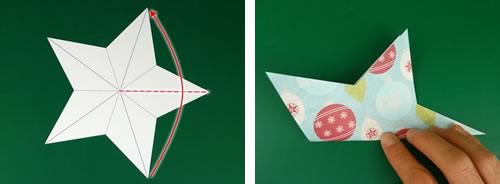
Unfold, then repeat for all the other arms of the star.
Step 3: More folding
Place the star patterned side up. Fold in half like this. As before, the fold only needs to go to the middle of the star.
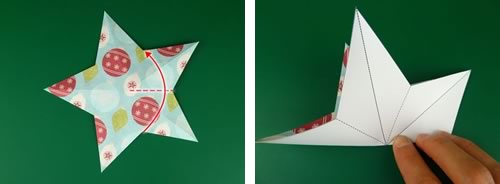
Unfold, then repeat the rest of the way around the star.
Finished!
Once you've made all these creases, you can mould your star into a 3d shape like this:
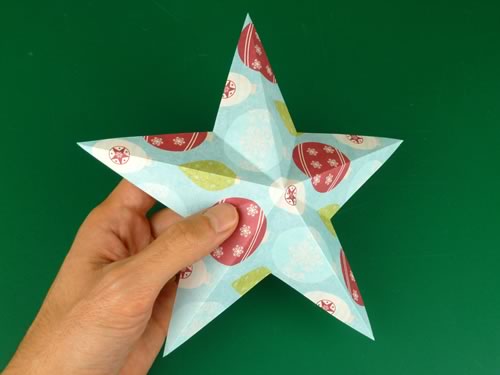
Double-Sided 3D Star - Making Christmas Decorations
Step 1
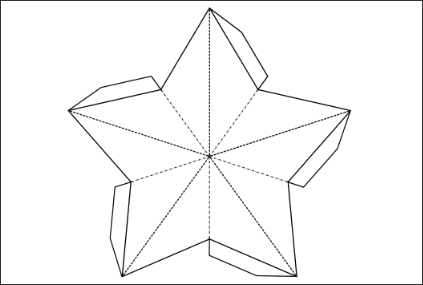
Download the template for the double-sided 3D star. It comes with three sizes of star, which are approximately 8, 6, and 4.5 inches.
Download template for double-sided 3D star
You will need to cut out two star shapes. Either print directly onto the back of your scrapbooking paper, or print onto normal paper and then trace onto your scrapbooking paper. Here I'm using the tracing method:
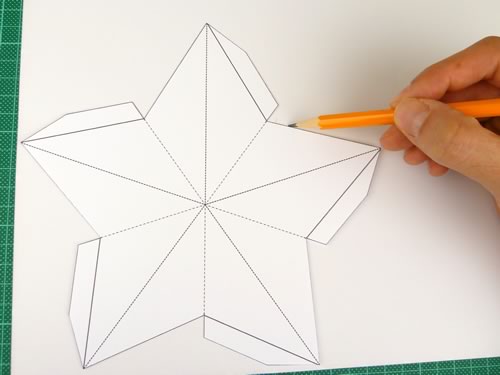
Cut out your stars. You should have two pieces that look something like this:
Step 2
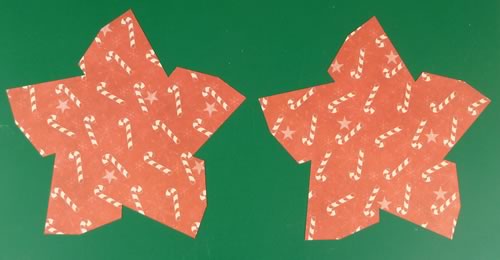
Fold in the tab on the side of each arm of the star:
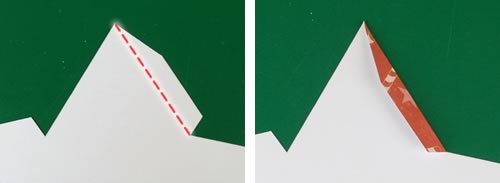
Do the same on the other star piece.
Step 3
Place the star blank side up. Fold one arm of the star in half. Crease only to the center of the star, not all the way across.
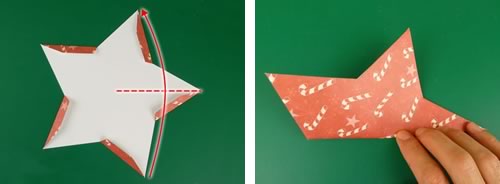
Unfold, then make the same crease on all the other arms of the star, and all the arms of the other star.
Step 4
Place the star patterned side up. Fold in half like this, so that the fold only goes to the center of the star:
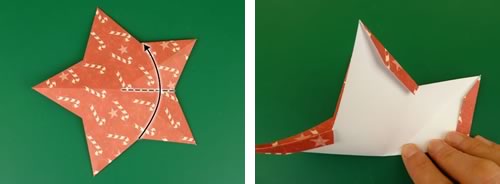
Unfold, and repeat the rest of the way around the star, and also on the other star.
Step 5
Unfold the tabs on the arm of each star:
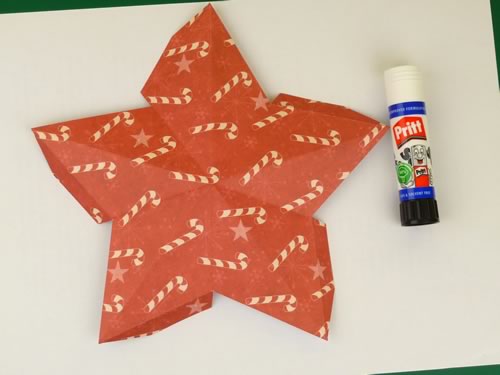
Put glue on each tab. It helps to work on some scrap paper so you don't get glue on your desk.
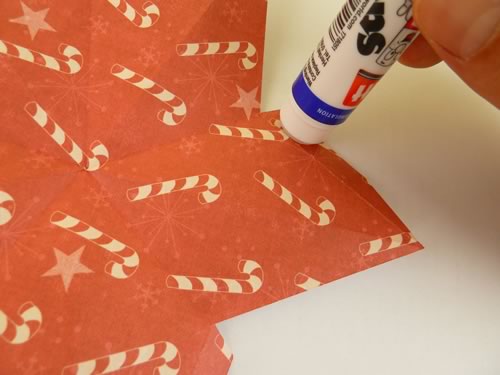
Put glue on the other star in the same way.
Step 6
Fold in the tabs on each arm of the star again. Yes, you'll get glue on your fingers. But that's part of the fun, right? The two halves of your star should look something like this:
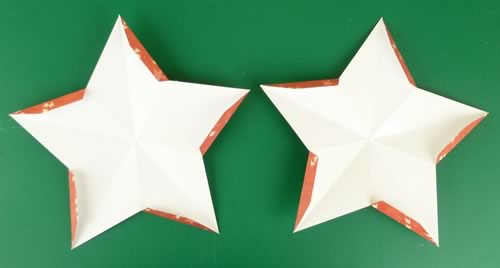
Put the two halves of the star together.
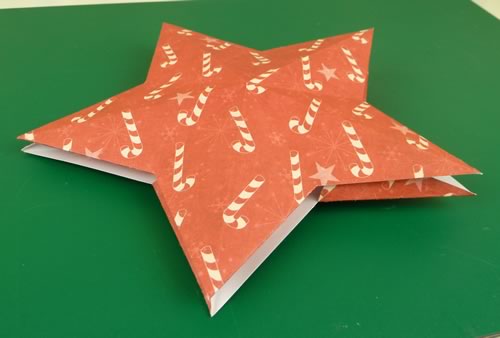
Press them flat to ensure the glue sticks:
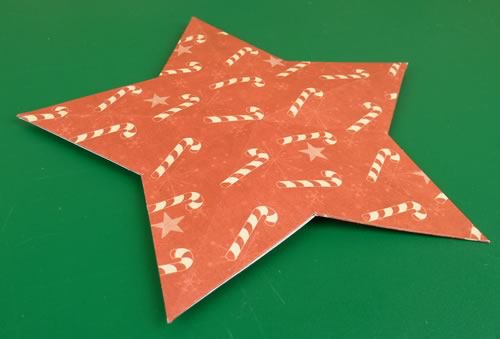
Step 7
Now for the fun bit - making your star 3D!!!
Gently squeeze the arms of your star to coax it into a 3D shape. Be patient because it takes time for air to suck into the star. Here's a video showing how to do it:
Finished!
Here's the finished star:
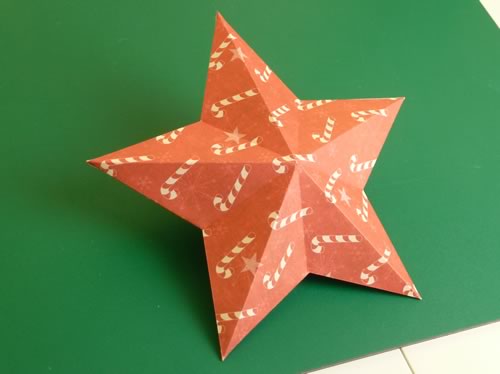
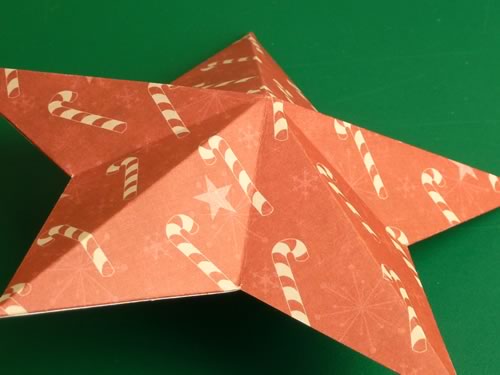
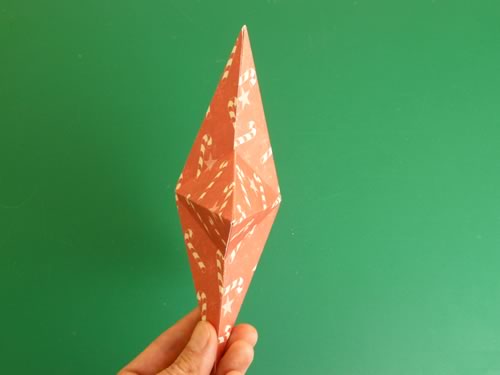
Here are some other views to give you a sense of how "3D" the star is:
How did your 3D Christmas star turn out? I hope you had as much fun making Christmas decorations as I did writing this page. If you have any questions or comments, or just want to say hi, please use the comment box below.
Other People Also Like...
Check out these beautiful printable gift ideas for Christmas. So easy to personalize and print at home!
More Tutorials for Making Christmas Decorations
If you enjoyed making the 3D paper star, you might also enjoy:

