Modular Money Origami Star from 5 x 1 Dollar Bills

Looking for instructions on how to fold a modular money origami star from several dollar bills put together? You've come to the right place!
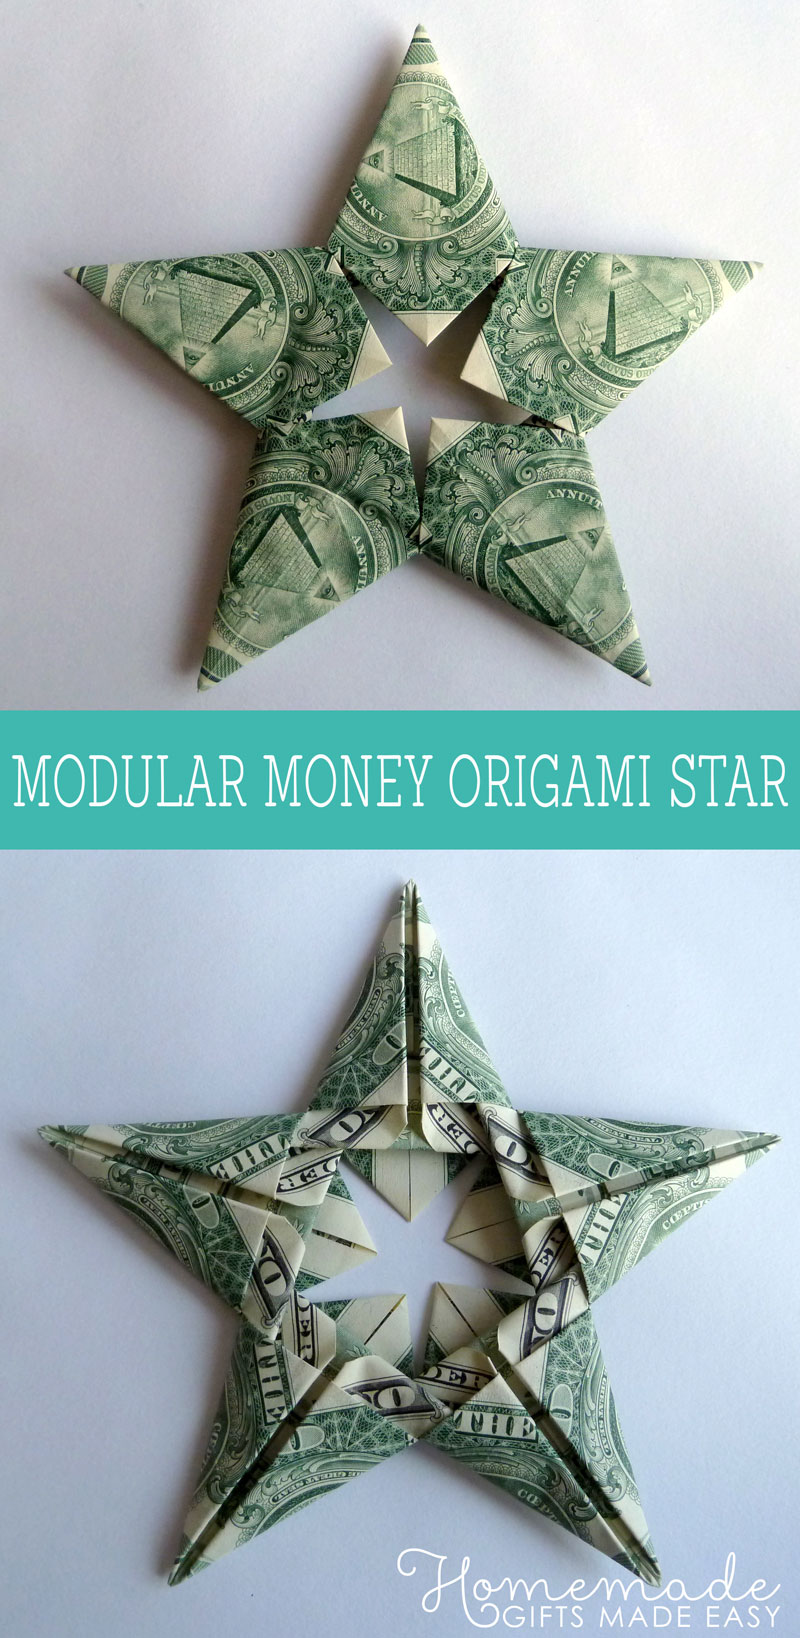
This is a really neat piece of dollar bill origami. You take 5 bills and fold each of them into one arm of a star, and then you slot them all together to make a 5-pointed star like this:
You can make this fold from any type of bank notes - any country, and any amount ($1, $5, $50, etc). I've tried it with both UK bills (which are short and wide) and US bills (which are long and skinny), so it should work with every other currency that fits somewhere in between in terms of shape.
I've seen some other instructions out there for this star which are excellent and very clear, but where you align some of the folds by using features of the note, like "just fold the bill until it reaches the green circle on the bill". I've deliberately avoided doing that in my instructions, because I wanted them to work with any currency in the world. So, all you non-USA folks can join in the fun too :-)
If you're giving a cash gift, then I think that these money origami stars make a wonderful way to give it. Usually, cash seems like a bit of an impersonal gift, but I think that by folding it into something beautiful you give it a personal touch and it becomes a much more meaningful and memorable gift.
Feel free to get creative with how you use this fold. One day when I get around to it I'm going to try making Christmas cards using these origami stars on the front as decoration - I think it would look really neat. Maybe I'll combine it with a money origami Christmas tree or some of the other ways to fold money .
Ready to make your dollar bill star? You can choose from my:
Video: Modular Money Origami Star Instructions
Here's a video I made showing how to fold the star:
If you have a slow internet connection you might like to pause the video and come back in 2 minutes when it's fully loaded. Or you might prefer to follow the photo instructions below instead.
Photos: Modular Money Origami Star Instructions
In these step by step photos I'll show you the folds using a plain white sheet of paper cut to the size of a US $1 bill (2.61 by 6.14 inches, or 6.6 by 15.6cm). It's easier to see the folds this way than if I use a real bill.
Tip: If you're using plastic money (e.g. Canada, Australia) then use large paperclips to hold the folds in place as you go.
Step 1
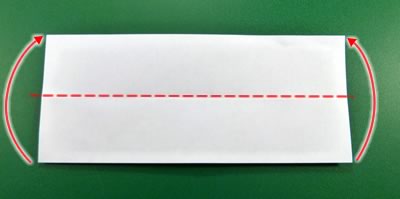
Fold your bill in half and unfold again, to make a crease along its full length.
Step 2
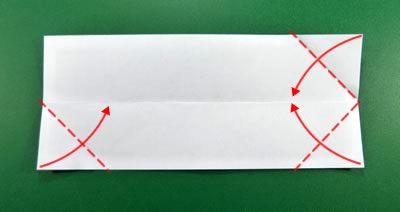
Fold both of the corners on the right hand side in to meet the center-line, as if you were making a paper plane. Also do the same with the bottom left corner.
Step 3
Fold the right point to meet the folded-up bottom-left corner, like this:
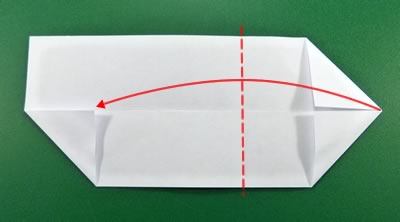
Once you've made the fold, your bill should look like this:
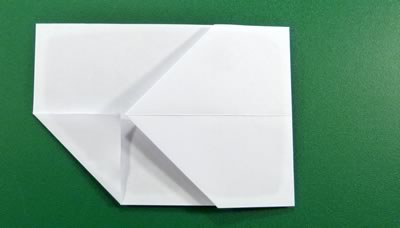
Step 4
Turn over the bill, and arrange it so that the folded-in corner is at the top left. Then unfold the folded-in corner.
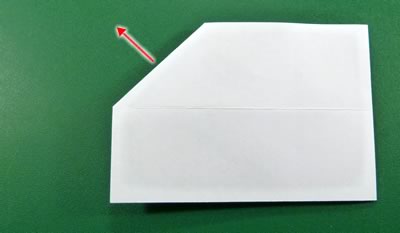
Then fold both the corners on the right hand side in to meet the center, as if you were making a paper plane.
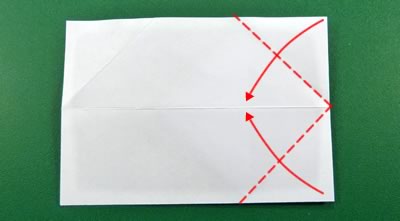
Step 5
Fold the corners in to the center one more time.
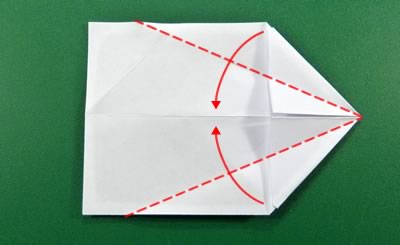
Your bill should now look like this:
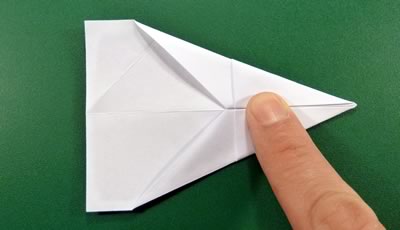
Step 6
Turn over the bill, and arrange it with the pointy bit facing upward. Then fold up the bottom edge and tuck it as far as it will go under the pointing-down triangle-shaped flap.
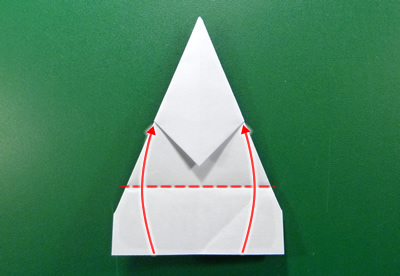
Fold up the bottom edge again...
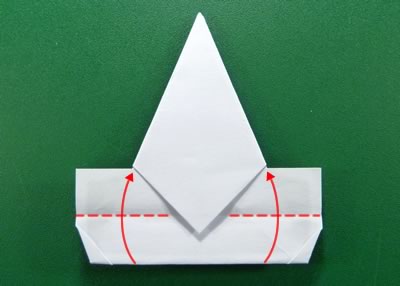
...and again:
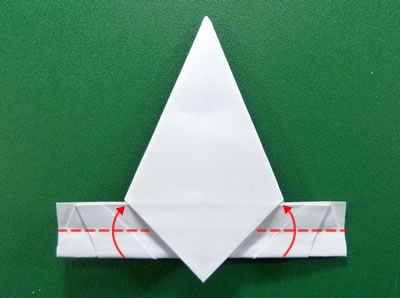
Step 7
Repeat steps 1-6 with another 4 bills.
Now it's time to slot them together. (This is a little tricky to explain with photos, so if you get stuck you can always watch the video instead .)
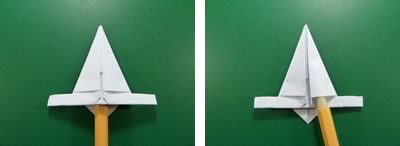
First of all, let me show you how each bill has two types of slots. In the photo below, see how there's a big slot (left) and a small slot (right)? I've poked a pencil into the slots to make them clearer.
Now that you know the two types of slots, you're ready to fit the bills together. Start off with two bills arranged like this:
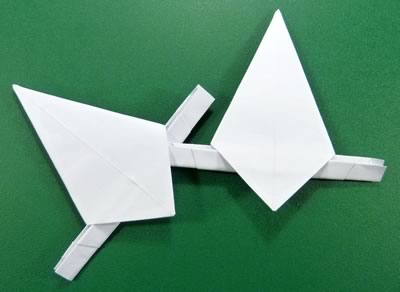
Poke the tab from the right bill into the big slot on the left bill, so that they look like this:
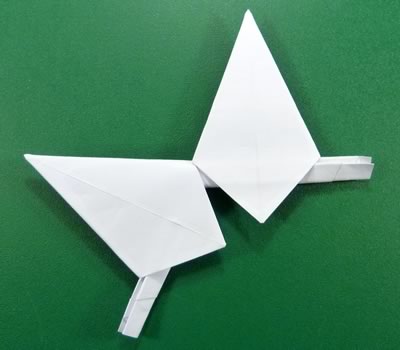
Turn the bills over, and they should look like this:
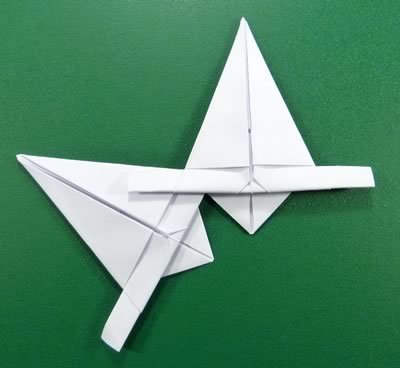
Poke the tab from the right bill into the small slot on the left bill, so that they look like this:
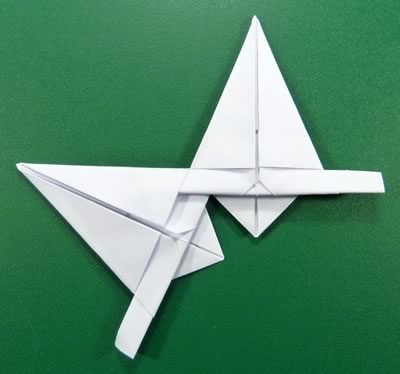
Step 8
Keep adding more bills and slotting them together the same way:
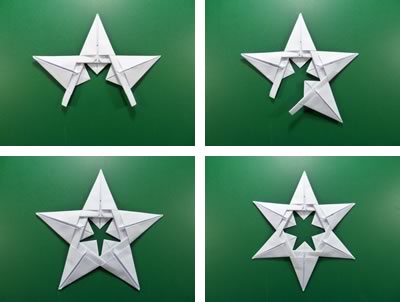
I normally make these stars with 5 points, but if you add one more bill you can also make a 6-pointed star.
Finished!
Once you've slotted all the bills together, here's what the finished star looks like from the front and back. See how my white paper has turned into dollar bills? It's magic ;-)
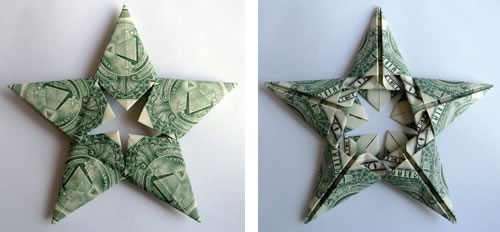
How did your modular money origami star turn out? I hope you found my instructions clear. There are also some video instructions above which might help to make it clearer. If you have any questions or comments, or just want to say hi, please contact me with this handy form .
Here's a star made out of Egyptian money by reader Kailey, a Canadian living in Egypt. Thanks for sending in your photo Kailey! I think the star looks really beautiful with the Arabic script.
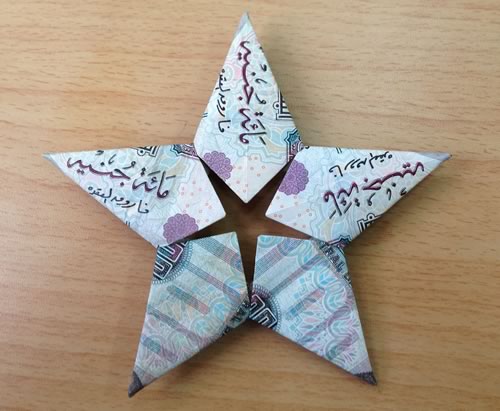 Modular Money Origami Star made from Egyptian notes
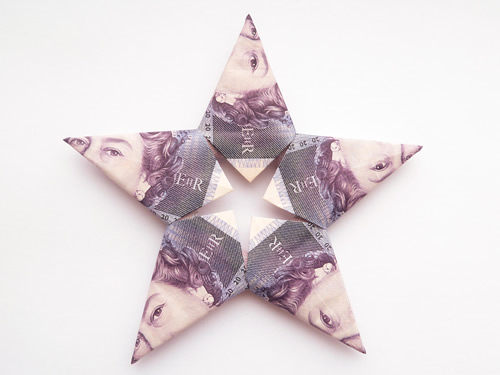
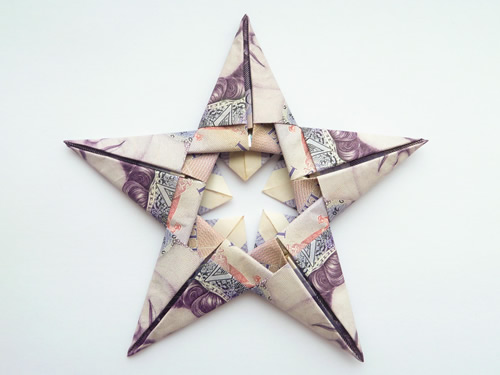
Here's one I made out of English £20 bills to give a £100 gift to a friend. I love how Queen Elizabeth is looking at you from each point of the star
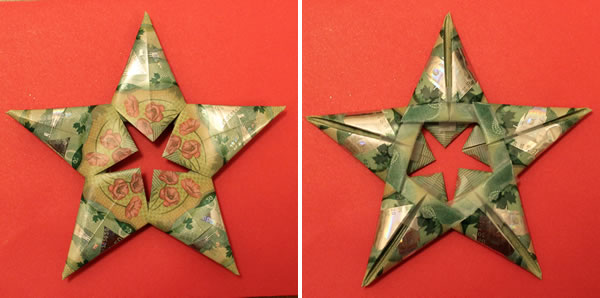
Here's a modular money origami star made from new Canadian plastic $20 bills by reader Marlene. I love how it has flowers in the center on the front, and iridescent towers on the other side. Thanks for sharing your photo Marlene!
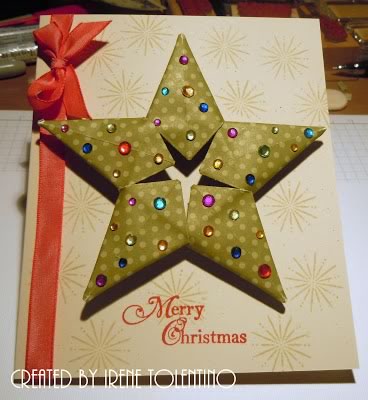
You can also make the star out of paper - here's a gorgeous card made by reader Irene (see her blog Chit Chats and Crafts ).
And here's a beautifully folded one by reader Mareiko:
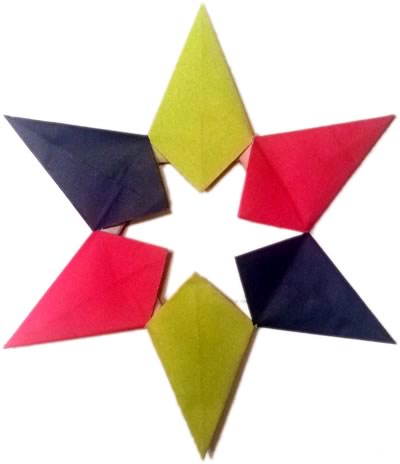
If you want to use paper instead of money, it's easier to use half-squares, i.e. rectangles of paper that are twice as long as they are wide.
What Next?
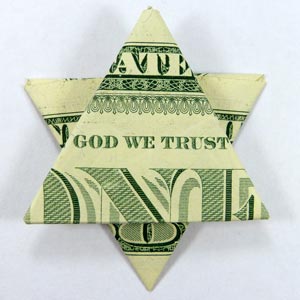
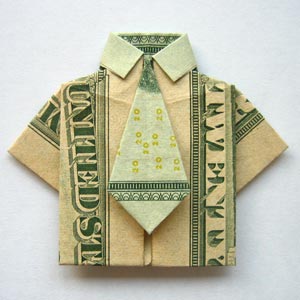
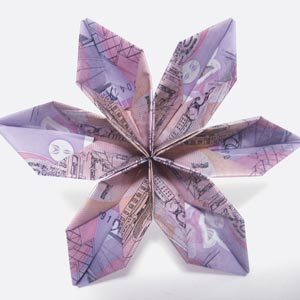
Now that you've folded a money origami star, you might like to try some of our other origami money folding projects:
