Printable Dress Card Template
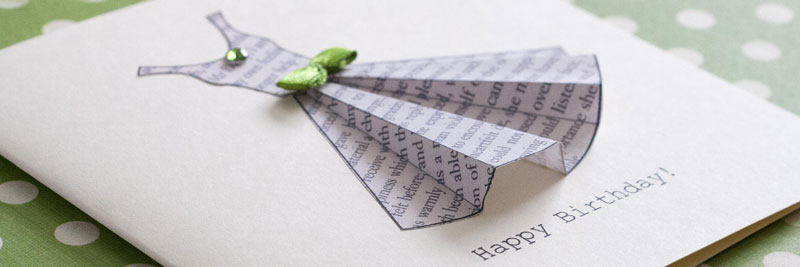
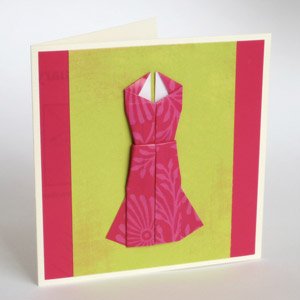
Use this dress card template to make a gorgeous greeting card, perfect for giving to friends for their birthday or even as an engagement or wedding card!
I've seen a lot of simple folded dress cards floating around on the web for a while now and just think they're gorgeous! When my Mothers' group asked me to lead a craft, I thought a dress card would the perfect craft for them as it's so easy to make and such a versatile design.
For a twist on the designs I've seen so far, we printed the template onto pages of an old book. Don't you think they look great? But you could also print it out onto any pretty paper that you have. The thing I love best about this design is that there are just so many possibilities!
So whether you're looking for an engagement card, wedding card, birthday or just because, hopefully this design will be just the thing. And the best part is that each card only take a few minutes to make. They are kind of addictive :)
How to Make a Paper Dress Card: Materials
Firstly, you'll need to download a template. Each page comes with one skirt template and a sweetheart, princess and strappy bodice template. You can download the dress card template here.
And you will also need:
- glue stick and/or glue dots, adhesive foam or double-sided tape etc
- embellishments (adhesive gems, pearls, ribbons or bows)
- scissors
- blank greeting card (I'm using a 5 x 5 inch cream-colored blank card)
Printing
I printed a sentiment "Happy Birthday" in Courier font on a blank 5 x 5 inch pre-cut cream card.
If you're not confident printing onto a pre-cut card (you'll need to use a custom setting in your print settings) then print your sentiment/message onto a regular letter/A4 page first. Cut out your sentiment and stick it on the front of your card. You could also stamp a sentiment or even hand-write it!
If you want to print the dress template onto your own book pages or patterned paper, you can print onto the reverse of the page if you want to hide the template lines. I've shown them here just so you can see where the folds go. Another option is to print the dress card template onto thick paper or card-stock, and trace around it onto your patterned paper.
Paper Dress Instructions
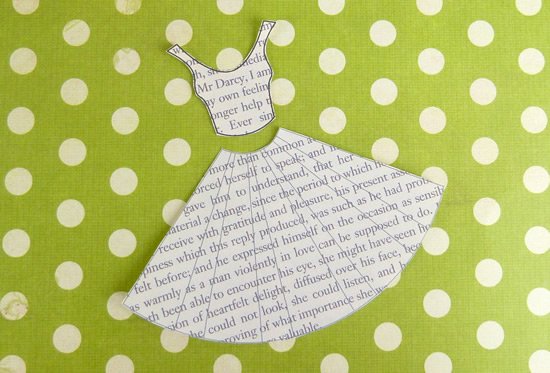
Cut out the elements of the dress from the template that you want to use. You can choose which bodice you like and match it with the skirt.
Here is a bodice and skirt cut out.
Fold along the lines of the skirt to crease them. It's easiest to crease/score them all first and then arrange the folds into pleats.
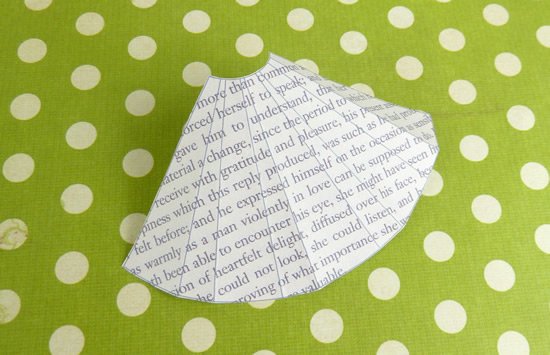
Now that your skirt is creased, fold your first box-pleat.
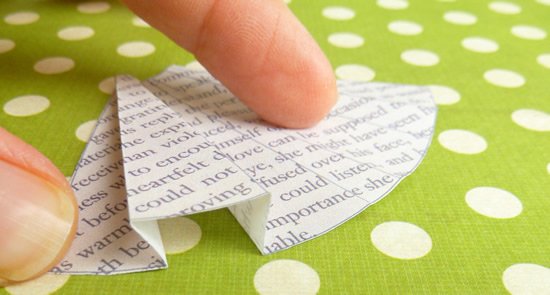
Now fold the second box-pleat.
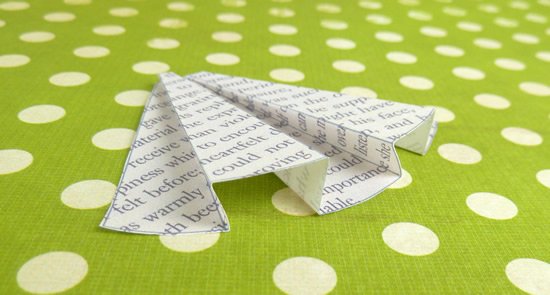
Glue the elements of your dress onto the cover of your card. Glue only the outer section of the skirt down. Don't worry about the join between the gown and bodice, you will cover this up with an embellishment in a moment.
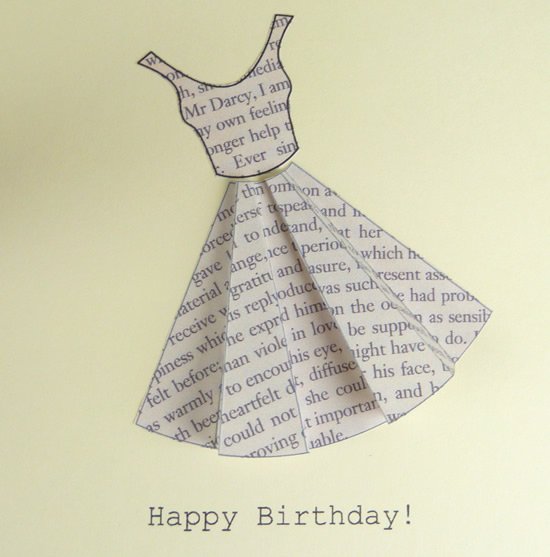
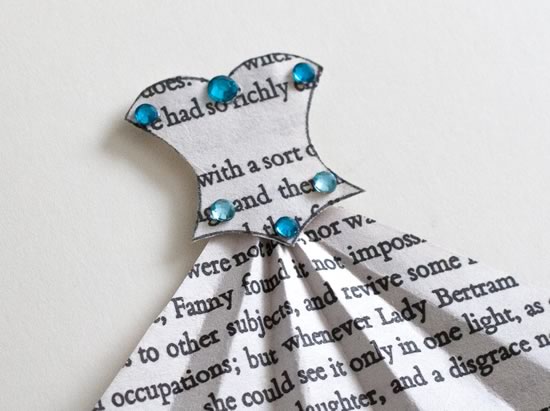
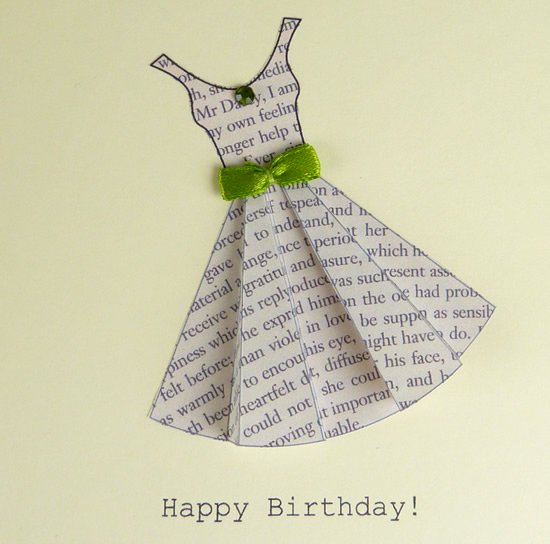
Now choose your embellishments and stick them on. I've kept this version rather simple, but browse the pictures below for more ideas/styles.
Need some inspiration for what to write inside your card? Check out our:
Alternative: Pleated skirt design
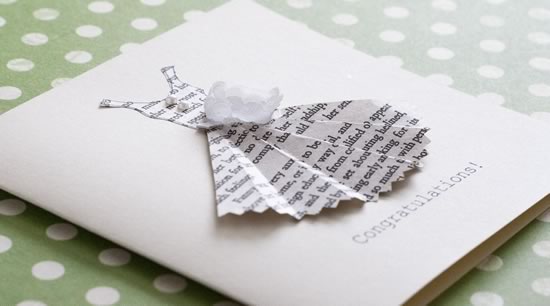
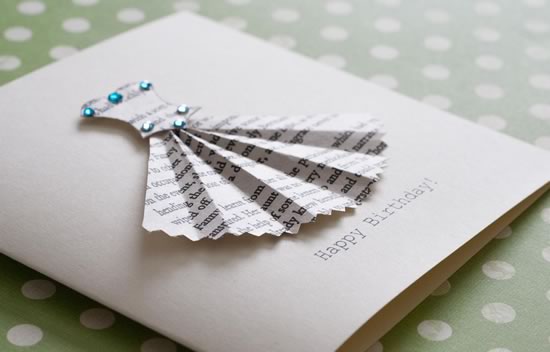
I really love the accordion-pleated skirt design too. Simply fold along the skirt template lines back and forth (like an accordion or fan), and then spread the skirt out. Glue the skirt down only at the waist using a small amount of glue or some glue dots.
You can use decorative scissors to give the trim of the skirt some texture (I'm using basic pinking shears here).
And you can use adhesive foam squares to lift up the bodice and give the dress a fuller 3D effect. I think this works really well with the sweet-heart bodice over a fanned skirt.
More Card Designs!
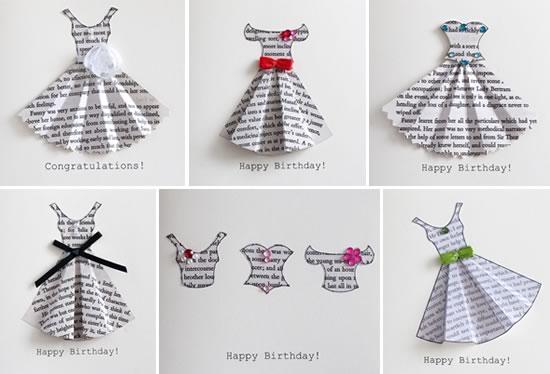
The reason I love this dress card template so much is that there are lots of possibilities. Here is a selection of the designs we made at Mothers' group.
(Actually, this dress card template is SUCH a great craft-night craft because *anyone* can do it! You can make something that looks really beautiful without any experience in card making).
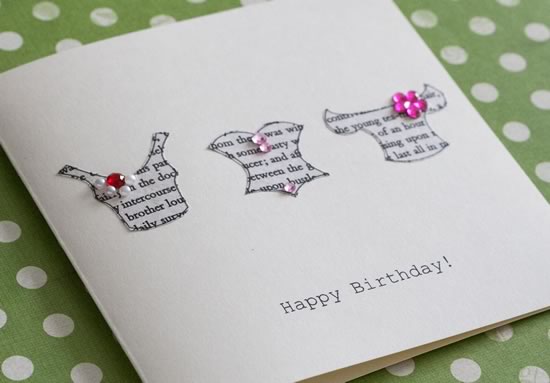
Try making a card just using just the bodices.
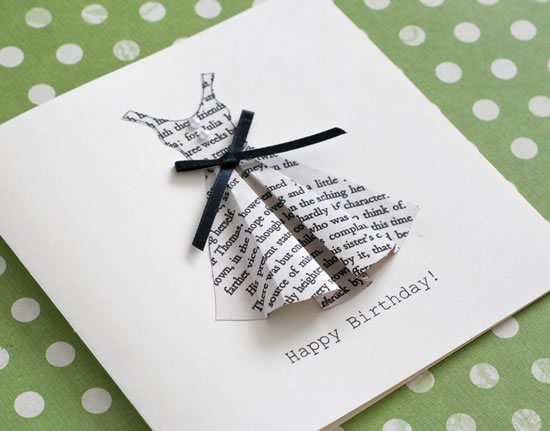
I really like this simple black and white design, using adhesive pearls and thin black ribbon embellishments to compliment the book print.
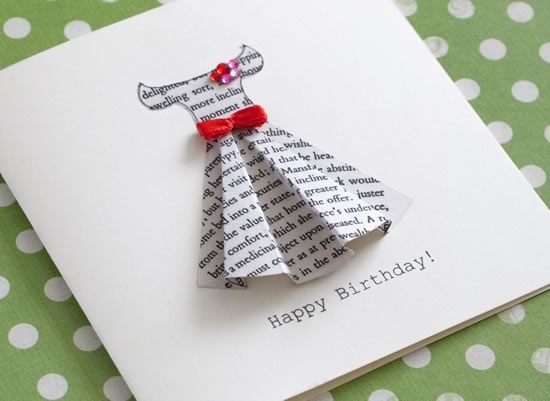
This princess bodice looks great finished with a rosette made using a combination of colored adhesive gems of varying sizes.
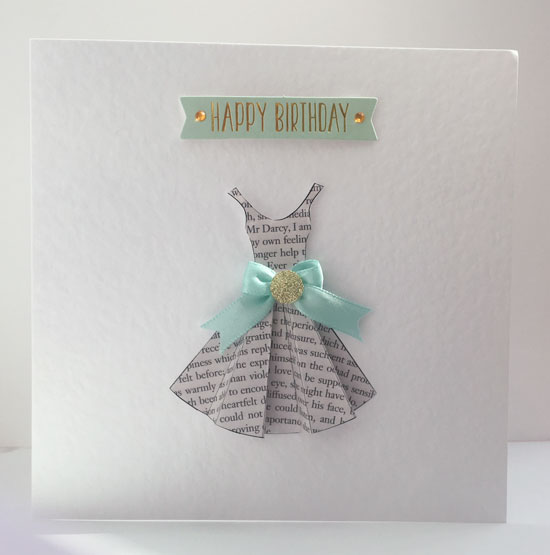
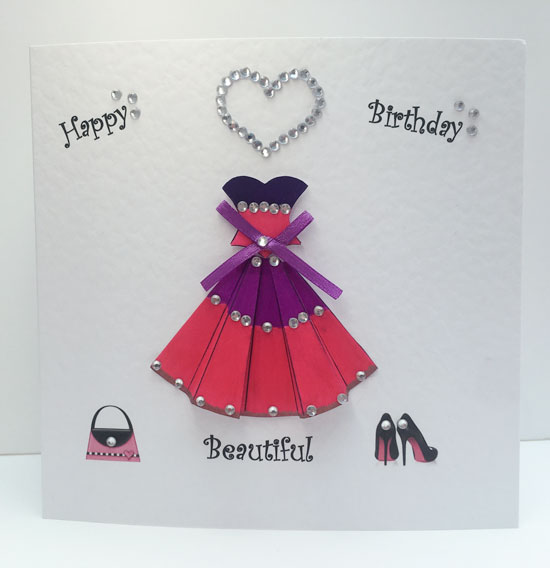
Here are some gorgeous cards made by reader Jacqui. Thanks for sharing your photos Jacqui!
Other tutorials you might like...
I hope you enjoyed our dress card template and tutorial. Here are some more gift ideas from our site you might enjoy:
If you have any comments or suggestions, or you'd like to share your photos with us then I'd love to hear from you! You can contact me here .
