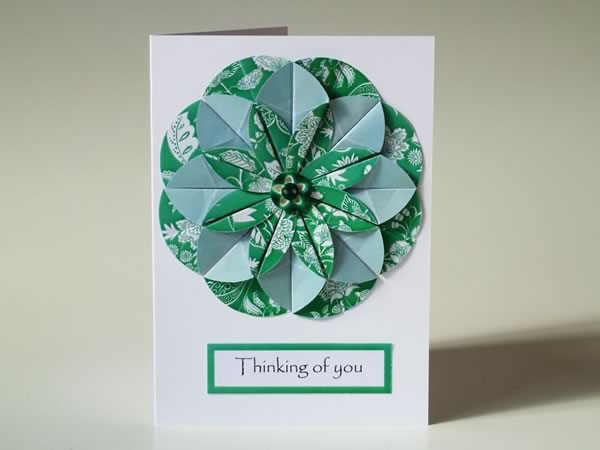
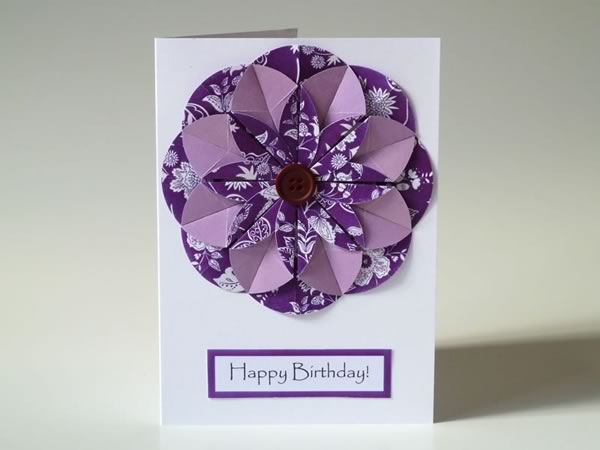
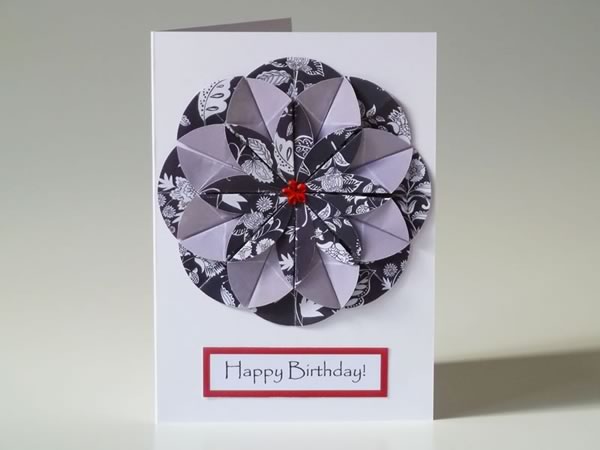
Homemade Card Ideas
with free printable template!

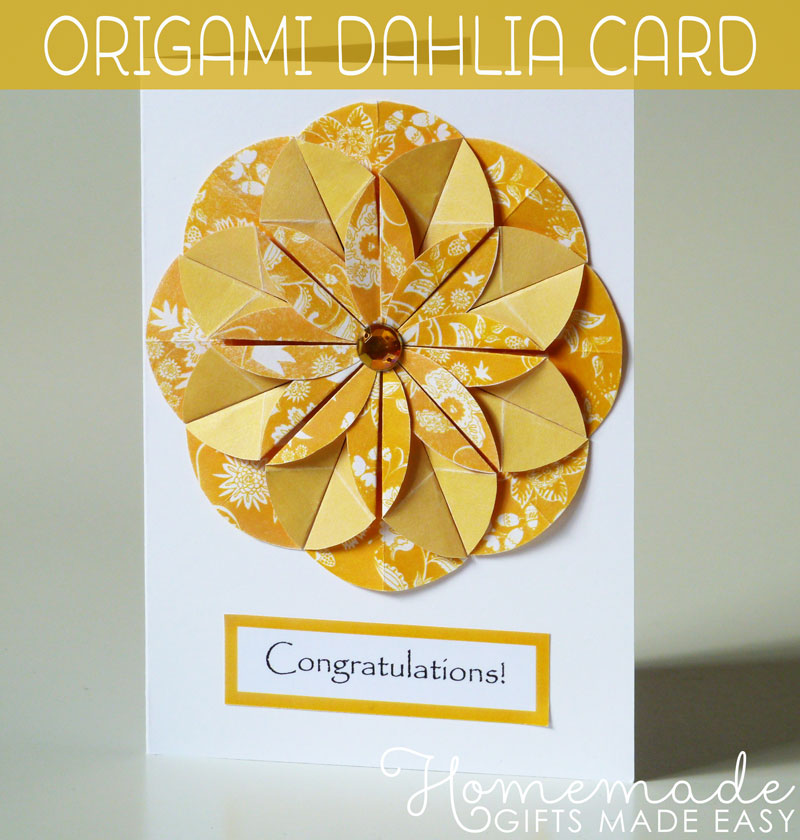
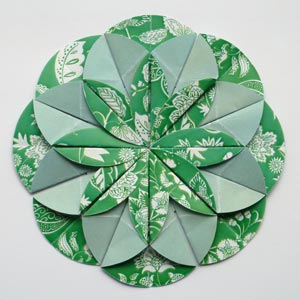
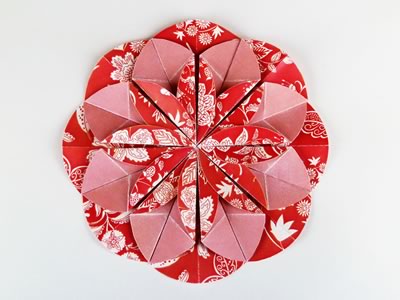
If you're looking for easy homemade card ideas then I'm sure you'll like this origami flower card design! Just download the free printable template and follow my step by step instructions.
When I'm making homemade cards I must admit that I am usually in a bit of a rush and find myself needing a card *now* and having none in my stash that are suitable! So I've decided to get more organized this year and make some cards that will suit several occasions, and are relatively simple to make at the last minute!
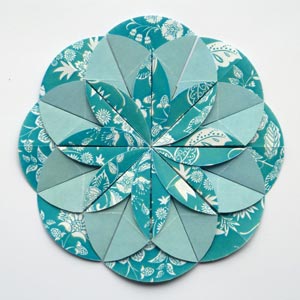
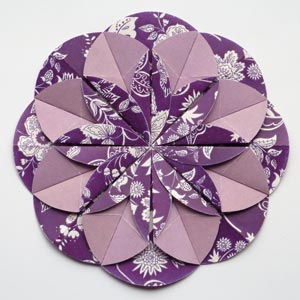
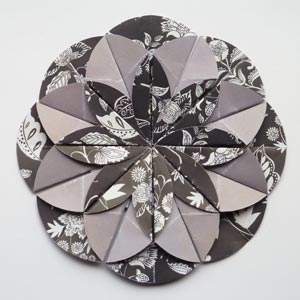
I've always loved homemade card ideas that are simple with only a few embellishments, so when I came across this dahlia origami flower fold I knew it would be just the thing to put on a homemade card.
To make the dahlia origami flowers all you need is a circular punch and a supply of pretty double-sided scrapbook paper.
If you don't have any a scrapbook paper, don't worry! You can download and print my free digital scrapbook paper, which is a gorgeous double-sided floral design in a rainbow of colors.
Materials
For this homemade card idea you will need:
- Double-sided scrapbooking paper (or just download my printable papers )
- Blank cards
- Glue stick
- Scissors
- Craft knife + ruler
- 2" circle punch (optional)
- Sentiment stickers, stamps, or printed out sentiments
- Buttons or other embellishments (optional)
For the blank cards, I used some 5" square and 6" x 4" rectangular blank pre-folded cards that I bought from my local craft store. You could also just make your own by cutting out rectangles of card stock and folding them in half.
The buttons or embellishments are for the center of the flowers. I think the flowers look great even without an embellishment, but buttons or crystals also look really cute.
The circle punch saves time but isn't essential. For all the cards on this page I just cut out circles by hand, because my circle punch was blunt.
I know my cards are quite simple using only one flower, but I'm sure you can come up with many homemade card ideas by using different sized flowers or overlapping them into a bunch. Have fun!
Option 1: Use your own scrapbooking paper
Got double sided scrapbooking paper? Great! Here's what to do:
Punch out eight 2" circles.
Print out this clock template which will help with assembly later.
Then head down to the instructions section
Option 2: Use printable scrapbooking paper
Don't have scrapbooking paper? No problem!
Download one my free digital scrapbooking papers below. These printables are for personal, non-commercial use only.
Each PDF file has 8 patterned circles with a complimentary-colored backing.
The files are designed for making flowers 4" (10 cm) across. You can use the print scaling feature in Adobe reader if you want bigger or smaller flowers. The final flower will always be double the diameter of the circle size you use.
IMPORTANT: PRINT DOUBLE SIDED!
Please print the template double sided. If your printer doesn't offer a double-sided feature, then just print page 1, put the printed page back the paper tray upside down, and then print page 2.
Click any thumbnail to download template.
Origami Flower Instructions
Although this flower appears very intricate, it is actually quite easy to assemble! It is comprised of 8 petals, and each petals takes just a few quick folds. Once you get the hang of it, I promise it won't take you very long to make the rest, and the intricate flower design is really worth it!
Step 1
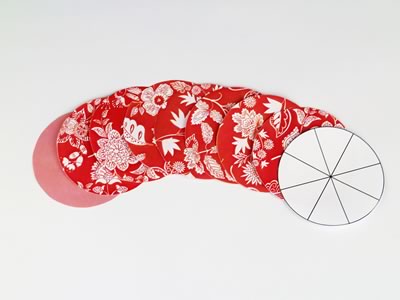
Cut out 8 circles of patterned paper (see free templates above) plus the printed out "clock circle".
Step 2
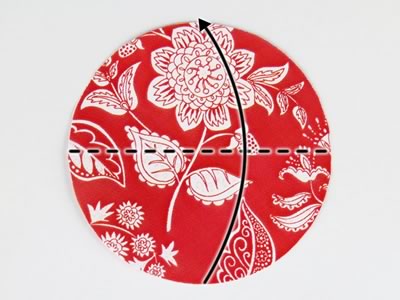
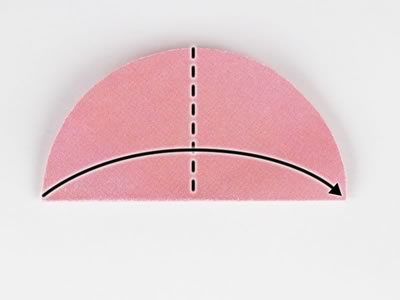
Take one double-sided circle and place it on the table patterned side up. Fold circle in half.
Step 3
Fold it in half again.
Step 4
Fold down the top layer of paper as far as it will go. The fold should go through the left and right corners.
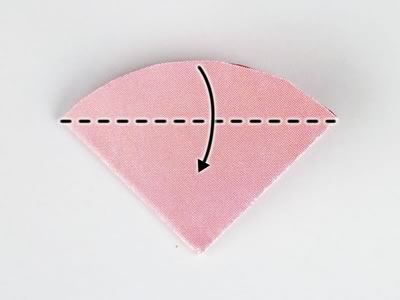
Your paper should now look like this:
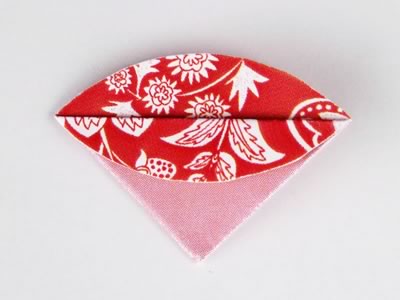
Now flip the paper over and repeat the fold on the other side.
Step 5
Partially unfold the paper until it looks like this:
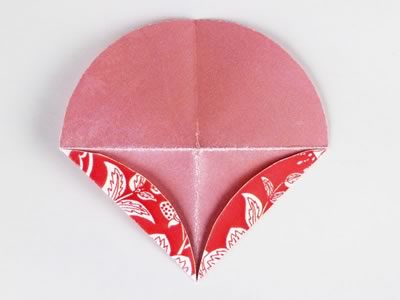
Turn the paper over and then fold each side in to meet the center line.
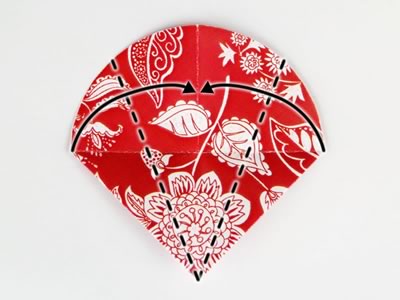
Well done, you've finished folding one petal of the dahlia. It should look like this:
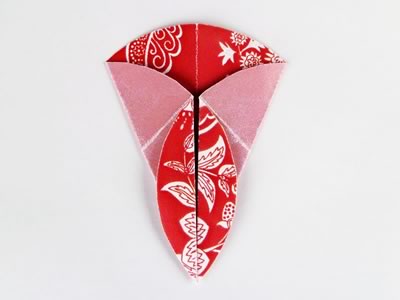
Step 6
Fold more dahlia petals until you have 8 in total.
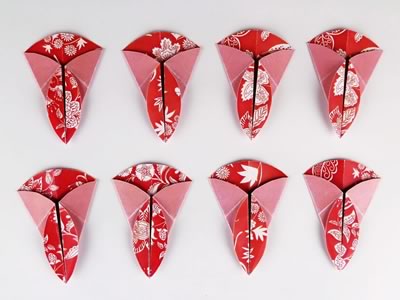
Step 7
Put some glue on the plain side of the pointy end of the petal.
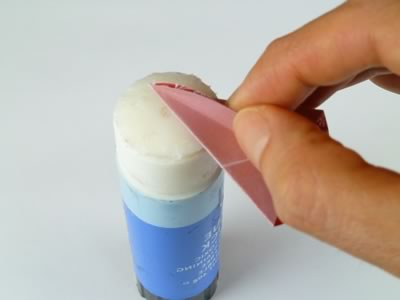
Only glue as far as the crease about half way along the petal.
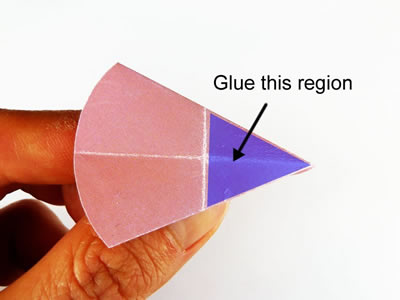
Now glue your petal down into one of the segments of your backing clock template .
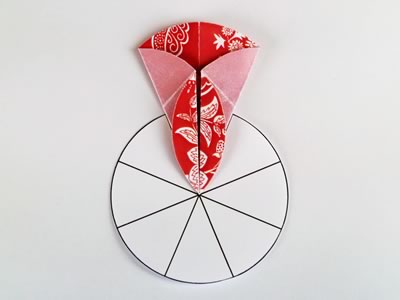
Glue on the rest of the petals one by one.
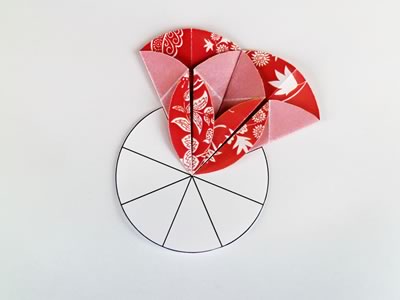
Ta da! Your completed origami dahlia flower! At this stage I like to squash it in a heavy book for a few minutes just to help everything glue down in position.
Assembling your card
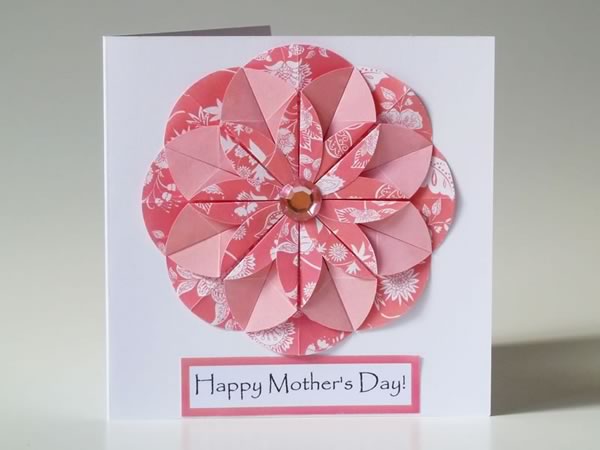
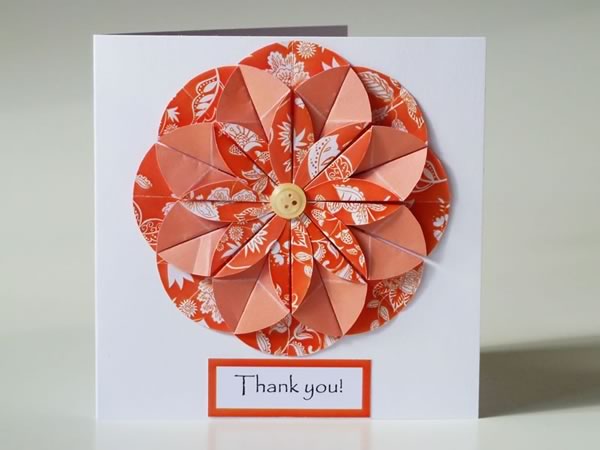
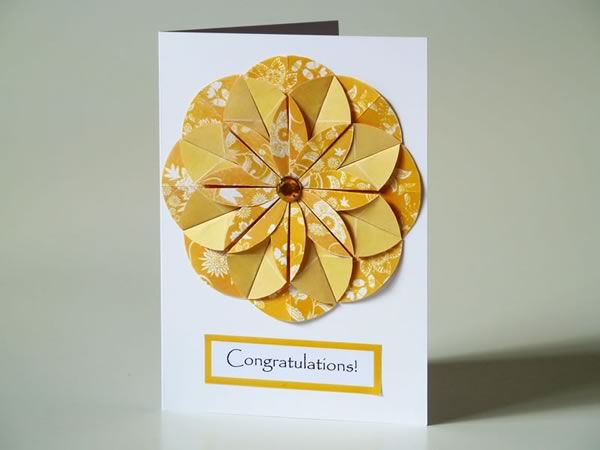
Once you've made the origami flower, it is then simply a matter of gluing the flower onto the card front. After that, you can glue a pretty embellishment in the center of your flower. You could add a sentiment below the flower to wish the person a happy birthday or happy mother's day. Feel free to experiment with your own homemade card ideas!
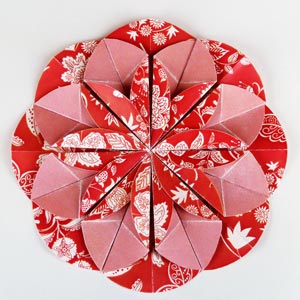
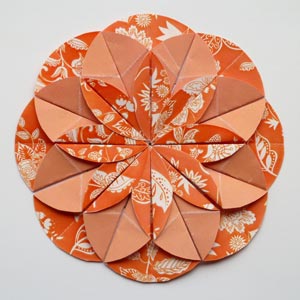
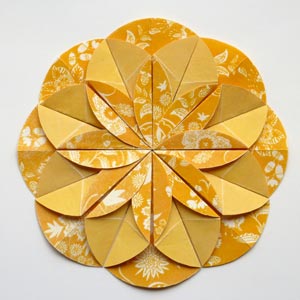
Here are some finished cards I made.
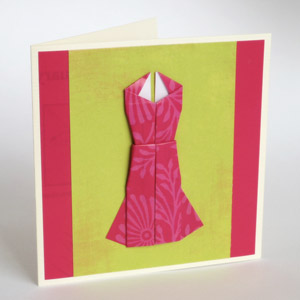
More Homemade Card Ideas
I hope you liked our dahlia cards! If you're looking for more homemade card ideas, take a peek at these tutorials:
Have you made a birthday card and you're not sure what to write in it? Check out these 100+ Happy Birthday Wishes.
We also have a huge collection of lovely Happy Mothers Day Messages and 80+ Fabulous Mothers Day Quotes, full of sweet messages to let your Mom know just how much you love and appreciate her.
