How to Make a Journal Cover

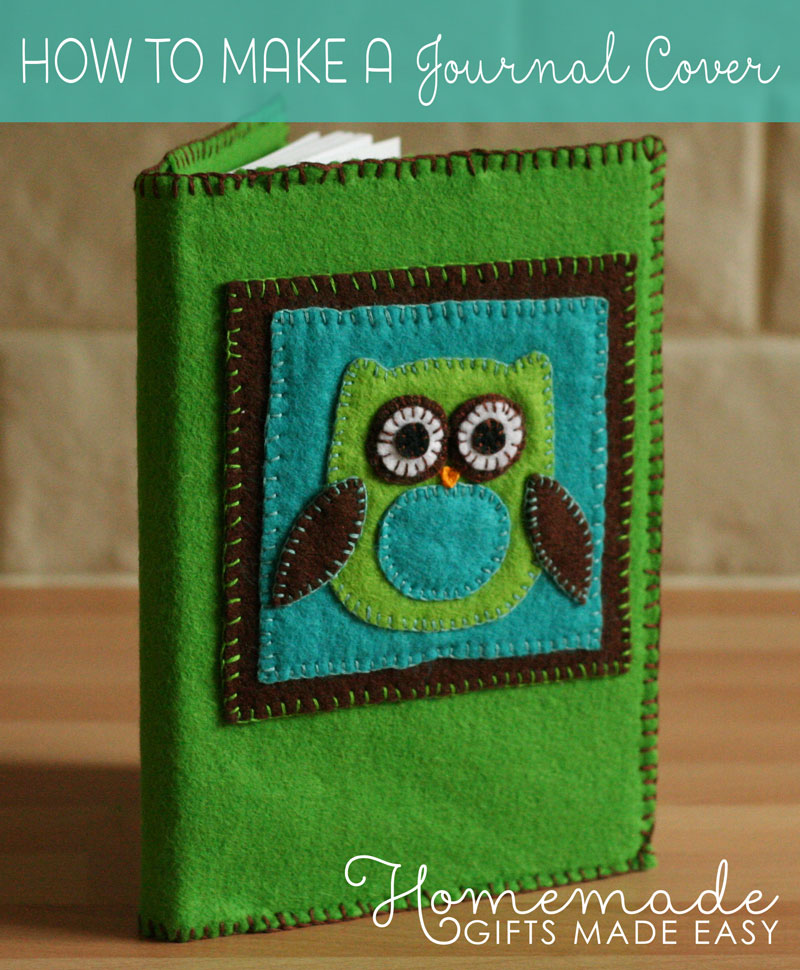
Want to learn how to make a journal cover? This super easy and cute felt project is so adaptable, and perfect as a gift idea for either guys or girls. And best of all it is an inexpensive gift to make, and in this climate I find it is always good to have a few affordable homemade gift ideas up your sleeve :-)
I love the cute owl design, but you can make up your own. It's really easy to customize!
How to Make a Journal Cover: Materials
The fun bit! This felt project is a great way to use up scraps from your stash. I'm always amazed to see what I have lying around and what can be created from it!
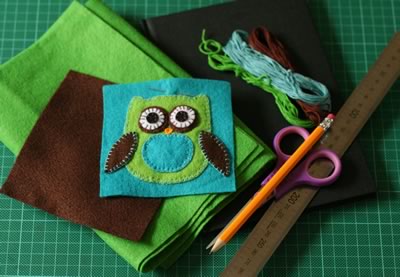 Materials for how to make a journal cover.
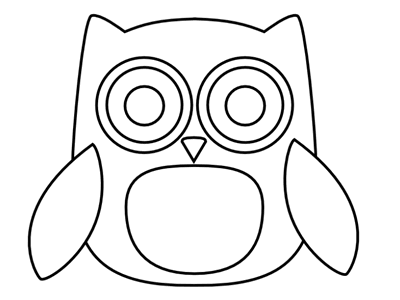
I'll show you how to sew the owl - there's even a pattern for you to download.
For this felt project you will need:
- Hardcover Notebook/Composition book (with lined or blank pages)
- Felt! You'll need two pieces just a bit larger than your notebook, plus extra pieces for the decoration.*
- Embroidery floss
- Scissors
* For this journal I'm using green felt to make the base cover which I'm decorating with the owl piece. You don't have to use just one color though, so if you want you can choose different colors for your outer and inner pieces.
If you're a bit low on felt supplies, then what a good excuse to stock up - eBay is amazing and usually I end up buying an array of gorgeous colors and several sheets of each!
How to Make a Journal Cover: Decorative Piece
For this cover I have chosen to sew a cute owl pattern.
You may need to scale it depending upon the size of the book you're making.
But any pattern can be chosen so just have a think about the recipient of your gift and the type of thing they might like. Some other ideas you could try are abstract circles, a flower, a monogram, a cupcake, hearts, a cute birdy... you could even use some of our free applique patterns .
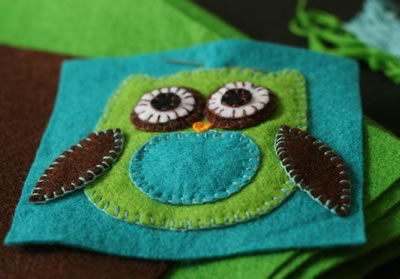
Measure out the size of the image(s) you'd like to make out of felt and check that they'll fit on the notebook cover. Then decide on your felt colours and composition, cut out each piece and sew them together.
You could sew directly onto the single layer of felt that will become the cover of the journal, but with this pattern I first sewed the owl onto a square of contrasting felt, which I actually then sewed onto another square of felt for a border, and then onto my cover piece. It's completely up to you!
How to Make a Journal: Blanket Stitch
If you're new to needle work then you'll find a fabulous tutorial on my friend Kelli's site for how to do blanket stitch , whether it is for a single piece of felt, multiple layers, in from the edge etc. Really recommend you check it out if you're new to this sort of thing or want to double check your technique before you make this felt project!
I find it helpful to put a very small piece of double-sided tape between layers of felt to keep them in place while I sew the fiddly bits like the eyes. Just make sure the tape doesn't come near the borders where you'll be sewing otherwise your needle will get all gummy with glue.
I'm not sure if all double-sided tape is as good, but I've got this amazing super-strong tape called D670 Fillet Tape which I love and is so good at sticking almost anything together, and a total must for your craft stash!!
How to Make a Journal: Assembly
First you'll need to cut a piece of felt that will be the outside of the cover. This should be just larger than your journal, leaving a margin of about 1/4 inch (0.5cm) all the way around.
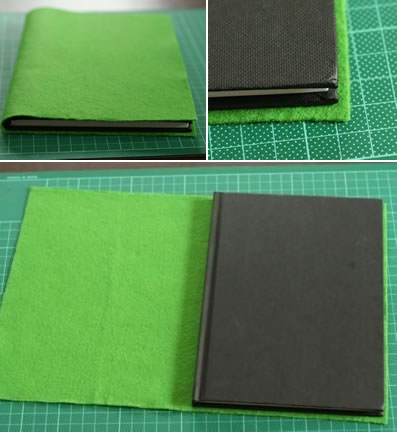
Next you'll need to cut a piece of felt to be the inside of the cover. This should be the same height as the piece for the outer cover, but less wide. How much less wide depends on how flexible your book is. As you can see, our book is very flexible and we can bend back the covers so that they almost touch each other:
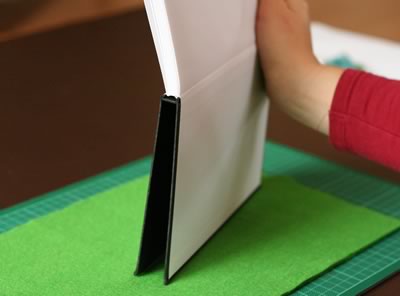
If your book is flexible like ours, then cut the sheet for the inner cover to be the same height as the sheet for the outer cover, but about 2 inches (5 cm) shorter in width (see photo below).
What if your book is less flexible? Suppose that when you tried to bend the covers back you could only bring them within 4 inches of each other. Then you'd want to cut the sheet for the inner cover to be same height as for the outer cover, but 4 inches shorter in width. This is important because otherwise it will be impossible to slide the book into the cover later.
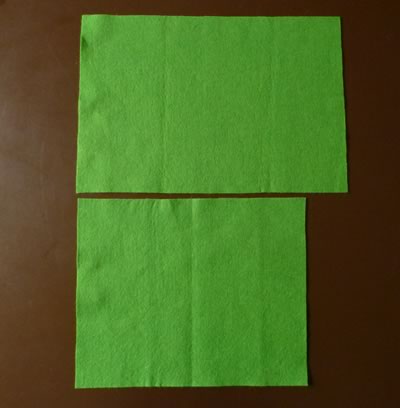
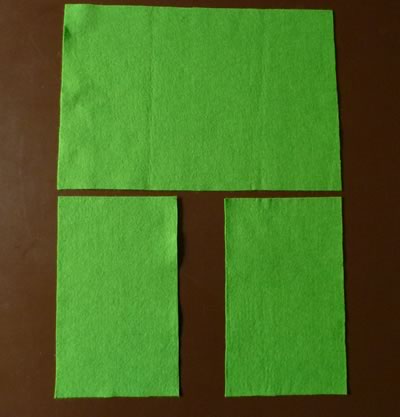
Now cut this smaller piece of felt in half. The gap in the middle is what allows the notebook to slide into the journal cover.
Now it is time to sew on the decoration piece to the front of the book cover. I recommend ironing the large piece of felt in half so that you have a crease to tell you where the middle of the felt is, and you can align your decorations with respect to that.
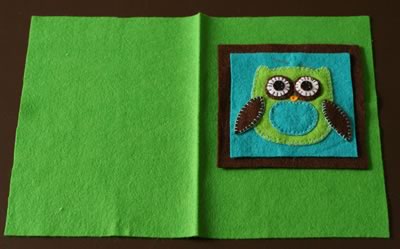
I sewed my owl piece onto a square of brown felt first to give it a border, and then attached it to the journal cover.
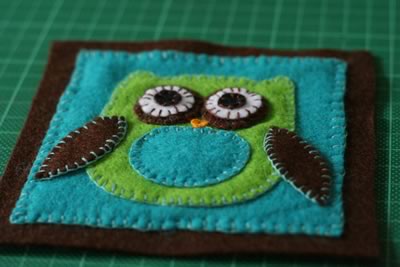
And here it is attached to the journal cover piece.
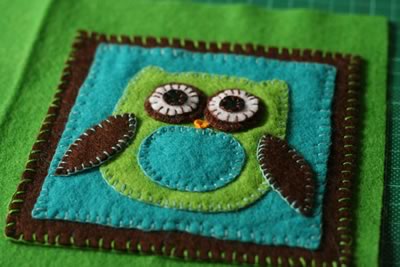
Once you're happy with the decorations to the outer piece of felt, it is time to learn how to make a journal cover.
Lay the two shorter pieces on the inner surface of the large piece of felt, so that the gap is in the middle.
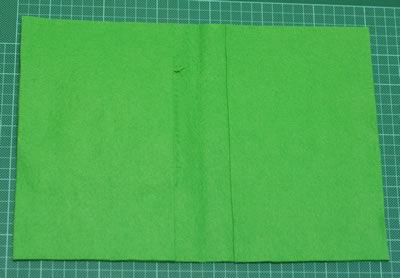
Sew the pieces of felt together using blanket stitch all around the edge.
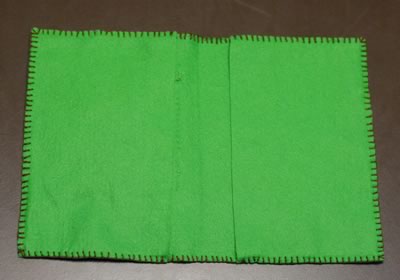
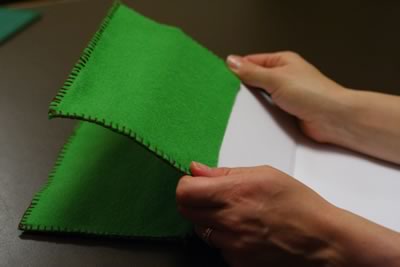
Once that is done it is time to slide the notebook into its cover. Feed the ends of the book a little way into each side of the cover.
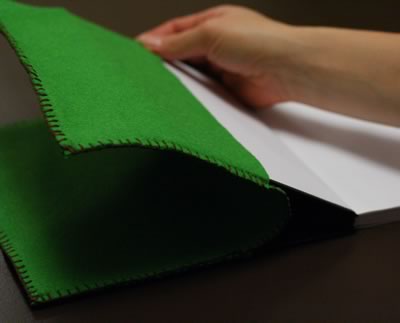
Then use both your hands to gently pull the cover down completely.
As we've made it to be a nice snug fit, you might find you have to gently wiggle the cover if the corners of the book get caught on the inside on the edge of stitches, but just work it gently until it is completely fitted.
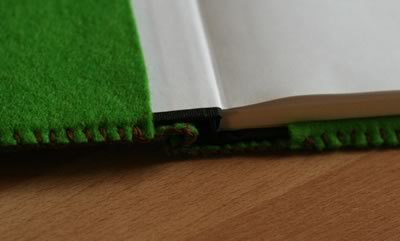
And you've finished!
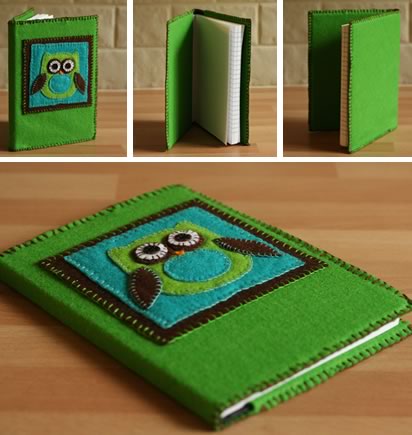
I hope you enjoyed learning how to make a journal cover out of felt. If you have any questions or comments, or just want to say hi, then please contact me with this handy form . I'd love to hear from you :-)
You might also like...
Looking for more homemade gift inspiration? Here are a few other projects you might also enjoy:
