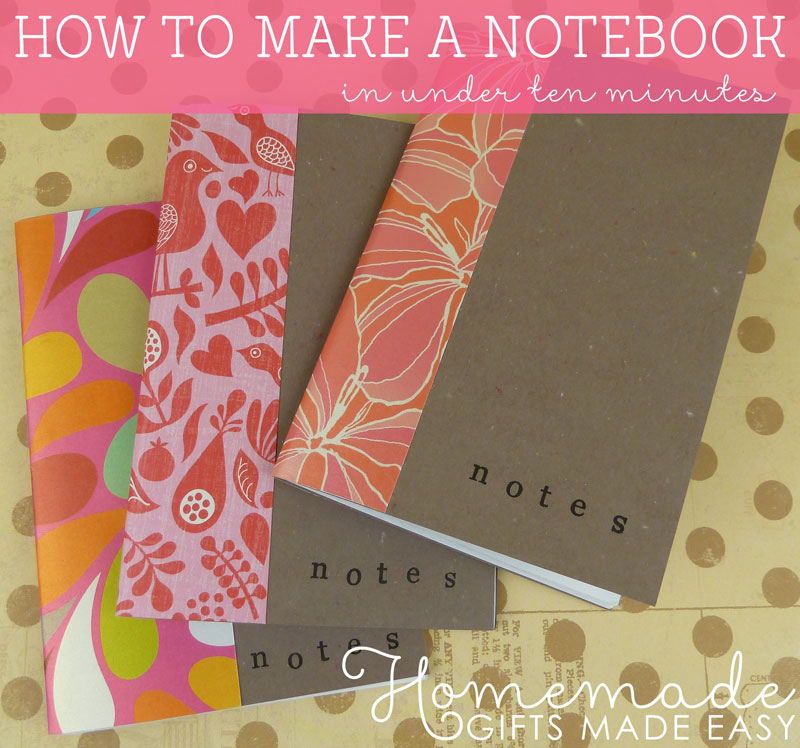
How to Make a Notebook
Learn how to make a notebook out of a blank notecard or recycled cardboard that you'll have lying around your house. This project is so quick to assemble and a great last minute homemade gift idea!
I *love* these little notebooks! They are so quick, easy and cheap to assemble, and a great way to use up pretty scraps of paper in your craft stash!

They're also incredibly useful to have in your handbag, diaper bag, car etc - you never know when you need a piece of paper to jot down ideas. Hope you fun making them!
How to Make a Notebook: Materials
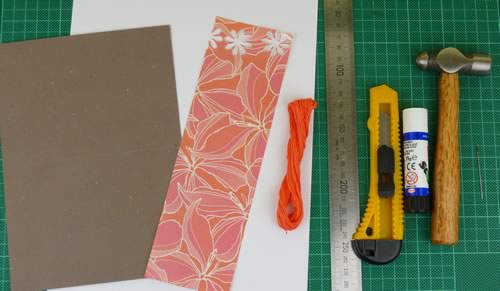
For this project you will need:
- blank notecard (or recycle cardboard from your kitchen - think cereal box etc!)
- blank or lined paper for notecard pages (I'm using cheap printer paper that we found wasn't very good quality for printing)
- Needle and embroidery floss/thick cotton thread
- Awl/Paper piercing tool (or hammer/heavy object and needle)
- Cutting board, ruler and knife or guillotine
- scrap paper for binding
- Glue stick
- ink and stamps, or other embellishments (optional)
How to Make a Notebook: Assembly
It's up to you what size you want to make your mini notebooks, they really are flexible!
I bought these blank cards on sale and then got them home and realized they weren't actually a very attractive brown and I probably would never use them (oops! I am quite terrible when it comes to discounted stock!). Then I came across the idea for mini notebooks and realized it was the perfect way to use them up!
My blank notecards were 8 x 6 inches (approximately 21 x 15 cm), and the computer paper double the size.
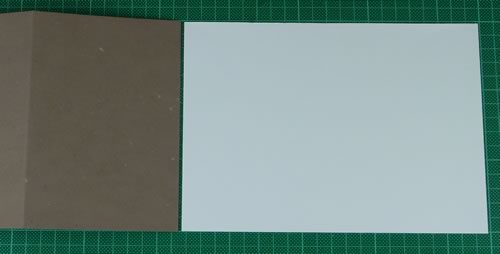
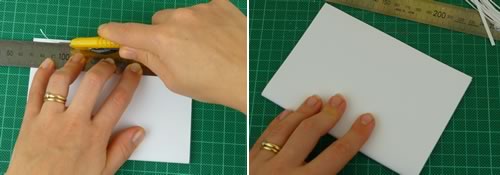
Trim down your note paper so it is the same size as your notecard/recycled card-stock cover. I've used 10 sheets of paper in my notebooks as I wanted quite a slim notebook for my handbag.
Fold the note paper in half, and then using a ruler and knife just trim down the outer edge so that you get a crisp edge to your notepaper.
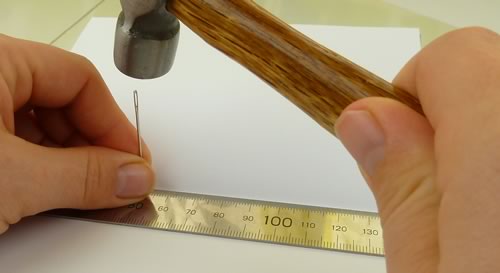
Put your notepaper inside your notecard cover. Now measure out where you'd like your binding holes to be. I just wanted to do a really simple binding with only two holes, and measured them out one inch above and below the center-point.
If you want, go wild with holes and do a more elaborate binding. There are no rules!
To pierce the paper you don't need fancy book-binding or scrapbooking tools (but do go ahead and use them if you have them!). Anyone can pierce paper with a sharp needle and a heavy object/small hammer. Just make sure you do it on a protected surface so you don't end up with holes in your worktop!
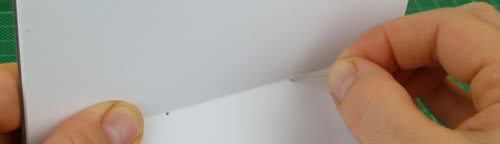
Once you've made the initial piercings, push your needle through the hole and wiggle it around a little bit to widen the holes.
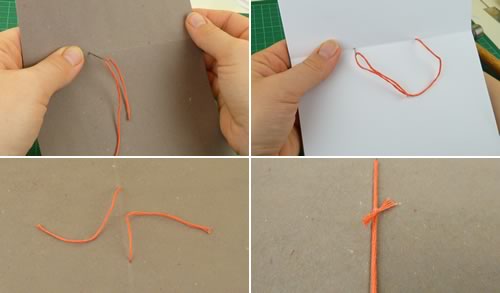
To bind your notebook, thread some embroidery floss or thick cotton thread onto a needle. Working from the outside-in, thread your floss through one hole and back out the other, and secure the ends together at the spine with a double knot. Trim down the ends.
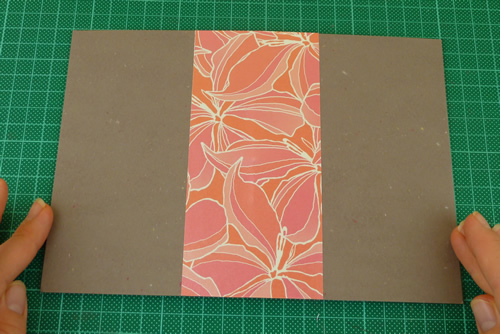
Cut a piece of scrap paper to measure the same height as your cover and a couple of inches wide (up to you depending upon how wide you'd like your spine cover to be).

Use paper glue to cover the back of your decorative paper with glue.
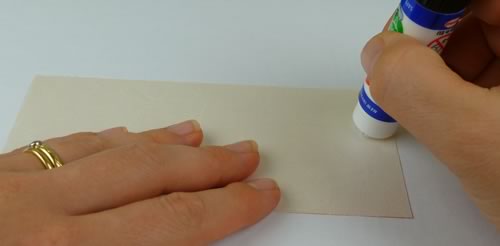
Secure it in place to cover the spine and binding.
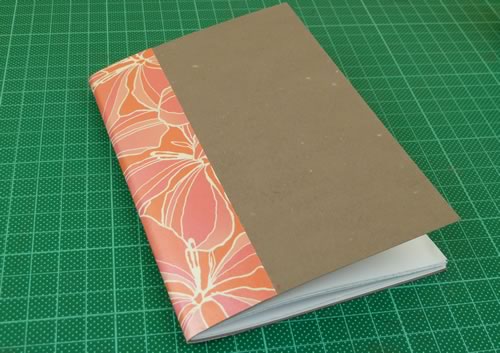
While the glue is still wet, make sure you fold your notecard in half and allow it to dry in this folded position.
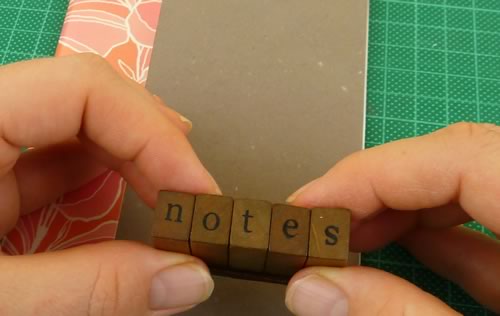
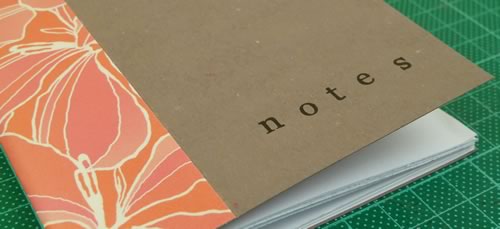
You could leave your notecard at this stage, or have fun embellishing it anyway you like. Here I've stamped "notes" in black ink. (And yes, the "s" is upside-down - oops!).
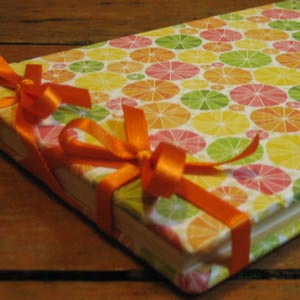
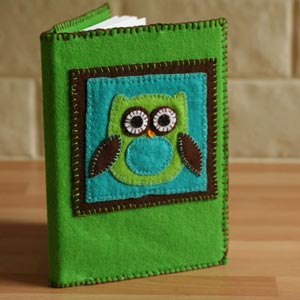
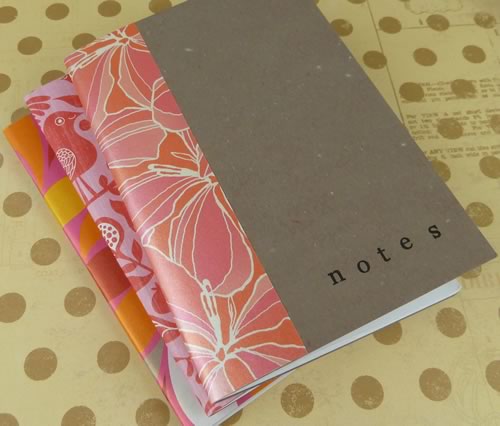
And here are some finished notebooks. They are so quick to make and look so sweet. And finally I've used up those brown cards!

Other tutorials you might like...
I hope you enjoyed learning how to make a notebook. Here are some other homemade gift ideas you might enjoy: