How to Make a Tutu
Learn how to make a tutu the easy way using a loop of elastic and strips of tulle. A fabulously simple homemade baby or toddler gift idea that little Princesses are sure to love!
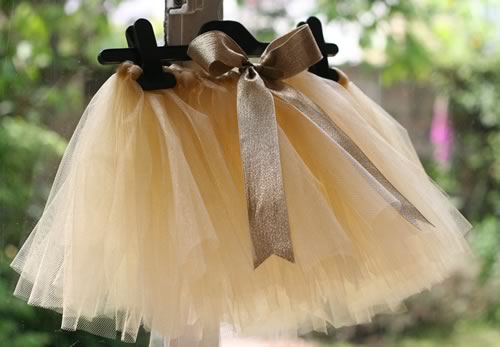
Here is a picture of the tutu. Isn't it just so fluffy and fabulous!
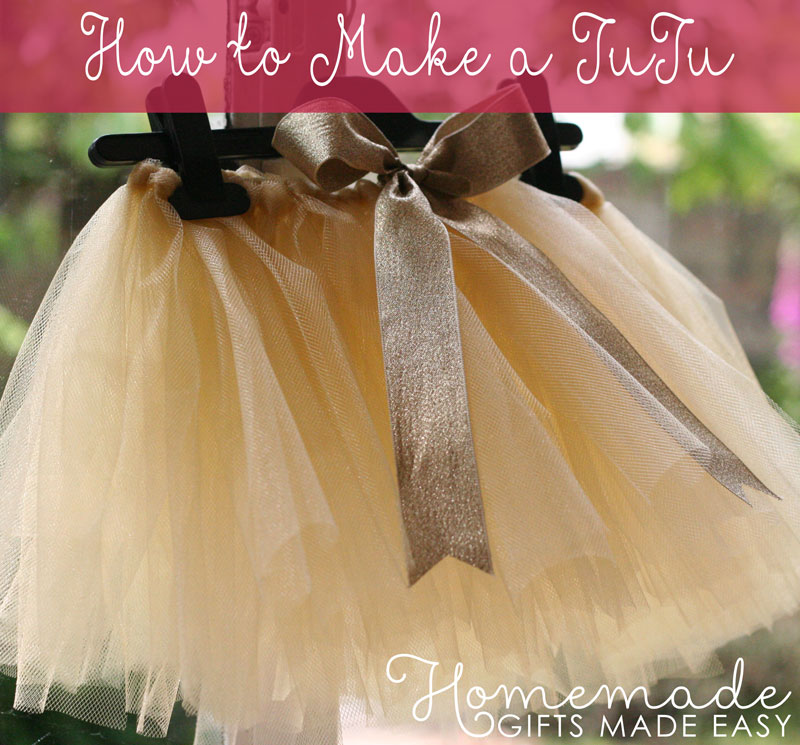
I've made several of these in different colours and they always look fabulous!
There is nothing little girls and boys like more than dress-ups and role-play, so this homemade tutu is always popular with little ones. It is easy to make and inexpensive, which is a bonus too!
There are many tutorials out there about how to make a tutu in different styles with ribbon versus elastic waists, but I prefer elastic as that way the child can more easily put it on themselves without help. I also prefer shimmery tulle versus matte as it gives such a gorgeous princess finish.
How to Make a Tutu: Materials
There are so many pretty shades of tulle now that you can make the most adorable tutus! I like the tulle that comes with a bit of a shimmer rather than in matte as I think it looks so pretty and little girls love the extra sparkle. You can choose to make your tutu in just one colour, or use a several different colours.
I'm going to list the metric measurements I used and then convert into US measurements. If you can't find the exact same measurements of fabric that I used then I wouldn't worry too much because these tutus are pretty forgiving.
For this project you will need:
- 2 m length of tulle (approx 80 inches/just over 2 yards). My tulle was 140 cm across (55 inches/ one and a half yards) and a gorgeous shimmery golden colour.
- Elastic for waistband. I used 13 mm wide (1/2 inch wide) elastic.
- Needle and thread, or sewing machine, to sew elastic together
- Scissors
- Ribbon for bow. I used 35 mm (1.4 inch) wide glittery gold ribbon
- Ruler or measuring tape
This amount of tulle is to make a tutu for a 2-3 year old girl. The tutu will be about 9 inches (23 cm) long with a lot of body and shape. You can give it even more body by using extra tulle strips.
Alternative: Instead of a big rectangle of tulle you can buy a roll of tulle strip.
In some craft stores or online can buy rolls of tulle that are 15 cm (6 inches) wide and very long. You can use one of these rolls and cut 37 lengths, each 50 cm (20 inches) long. Then halve each piece lengthwise so you end up with 74 strips, each 50 cm x 7.5 cm (20" x 3"). You'll need to buy a roll of at least 19 meters total length (or 20.5 yards), which will give you the right amount of tulle.
Obviously don't worry too much about being really precise as the rolls aren't going to come in that exact length, I just want to give you a figure so you know approximately how much to buy!
How to make a tutu longer/shorter for other age ranges
The rule of thumb is that however long you want your final tutu to be the tulle strips need to be just over double that length, because the tulle will be folded in half and knotted.
So if you want to make a small tutu for a baby then use shorter strips of tulle. For a newborn to six month old, a tutu length of about 6 to 7 inches looks good, so you'd need tulle strips that are 12-14 inches long.
Equally if you want a longer tutu skirt you'll need longer strips. Tutus make great homemade gifts for kids and for an older toddler you might want to make the tutu about 12 inches long, so you'd need tulle strips about 24 inches long.
How to Make a Tutu: Preparing Materials
To start, I cut my length of tulle in half and then in half again, resulting in 4 pieces that were 50 cm (20 inches) by 140 cm (55 inches) across .
Then I laid two of the pieces on top of each other.
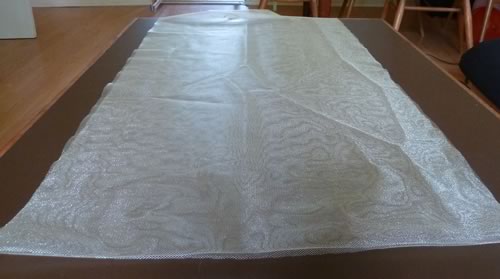
I rolled the tulle up lengthwise into a 140 cm (55 inch) long sausage (use a large flat surface and books to keep the tulle together as it does like to uncurl).
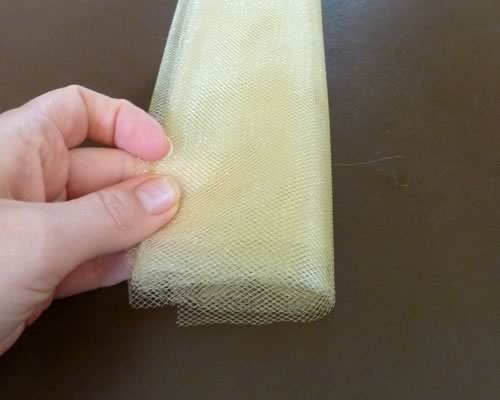
Trim the ends of your tulle sausage so that it is even.
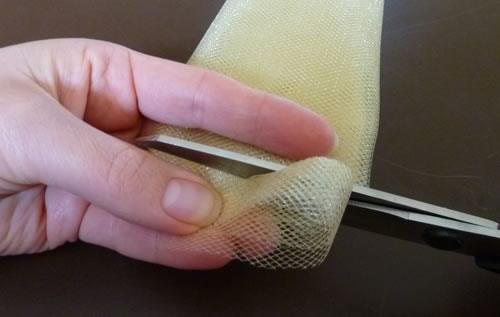
Now cut sections of tulle that are approximately 7.5 cm (3 inches) wide.
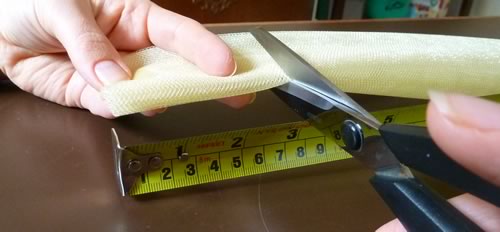
You'll end up with strips that are 7.5 cm wide by 50 cm long (3 inches by 20 inches). Because we doubled the tulle in the beginning, each cut will result in two strips.
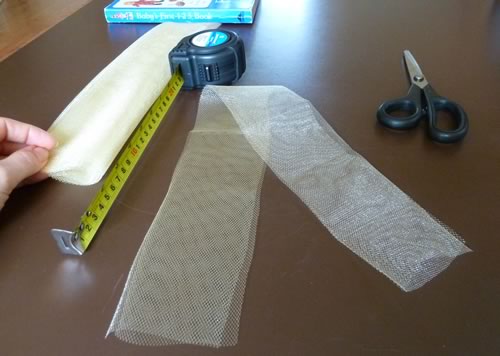
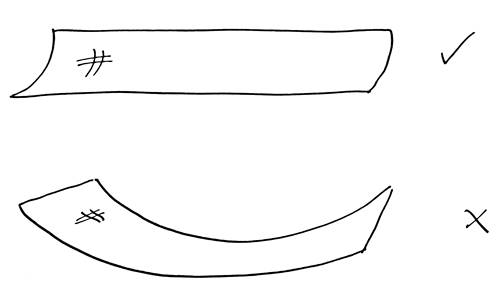
Tip: You'll notice tulle fabric is more stretchy in one direction than the other. If you want your tulle strips to all sit evenly then you need to cut the strips along the direction of the tulle that is less stretchy. If not your tutu strips might appear curly, and the strips won't sit as evenly resulting in uneven puffiness of the skirt.
My friend's daughter's waist is 50 cm (20 inches) so I wanted to make a tutu that would fit her now and into the future. I chose to cut 43 cm (17 inches) of elastic. In hindsight I could have used 40 cm (16 inches) and I think it would have been perfect, but I guess she'll fit it for longer.
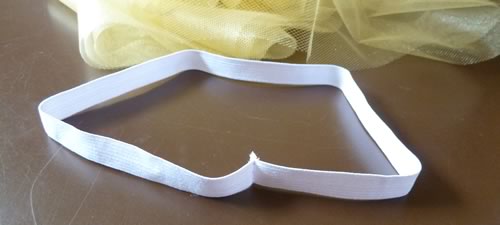
Once you've chosen the length you want (cut a few inches less than their waist size), sew the elastic ends together to form a loop of elastic.
How to Make a Tutu: Knotting the tulle in place
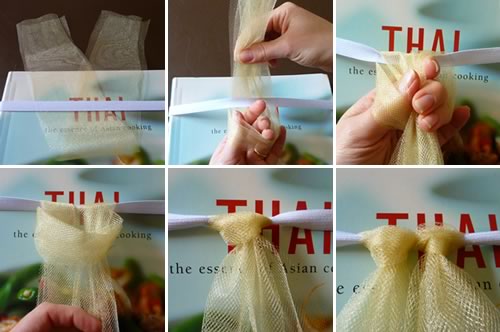
Now you need to knot all the pieces of tulle onto the elastic waistband. It is easy if you stretch the elastic loop around a large book to hold it in place.
Next take your strips of tulle (I kept mine layered so that I was knotting on two pieces at a time), and fold at the center point.
Put this center loop under the top of the elastic and then pull the ends of the tulle over the elastic and through the loop so that the tulle knots onto the elastic.
Repeat over and over again until you've tied all your tulle strips onto the elastic. I found that you need to pull the knots firmly but not too tight otherwise the elastic will stretch a lot and your waistband will be larger than you want it to be.
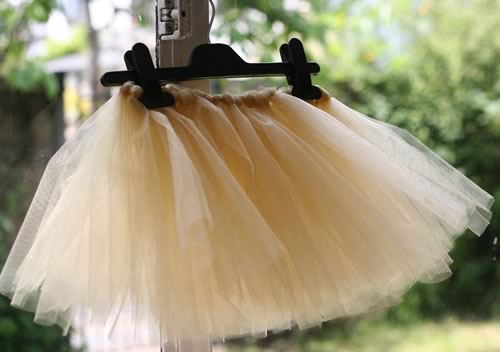
Once all the tulle is knotted in place you will have a lovely full looking tutu like this.
How to Make a Tutu: Finishing touches
If you'd like to add a bow to your tutu cut a long length of ribbon. I forgot to measure it exactly, but I experimented first so I knew how much I needed before I trimmed the ribbon down. I imagine I used no more than four times the length of the tutu, so I probably used a bit less than 1 m (40 inches). Loop the midpoint of the ribbon onto the elastic just like you did with the tulle.
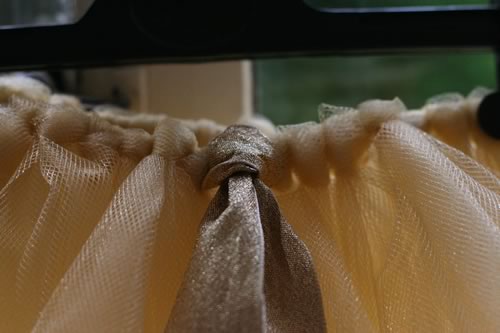
Now that it is in place, tie a bow and trim the ends of the ribbon so that they sit just above the length of the tulle. You can slightly melt the end of your ribbon or use a special spray to prevent the ends from fraying.
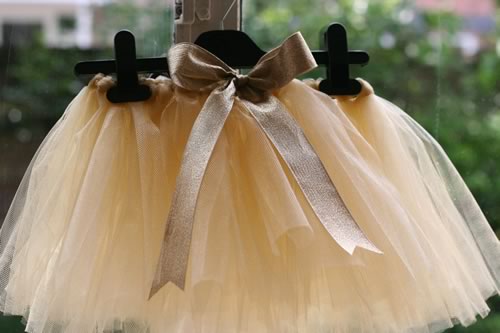
And here is the finished tutu - isn't it adorable! Once you've learned how to make a tutu you'll find that it is a go-to gift when you need a toddler or new baby gift in a rush!
More Homemade Gifts for Kids and Toddlers
I hope you enjoyed learning how to make a tutu in this tutorial. If you're looking for more toddler activities then you might enjoy these other projects on our site:
