How to Sew a Bag: Simple Tote Pattern
Want to learn how to sew a bag that is versatile and simple? This tote design is straightforward to make and so useful when you're out and about! A really gorgeous homemade gift idea for women that you can whip up in an afternoon.
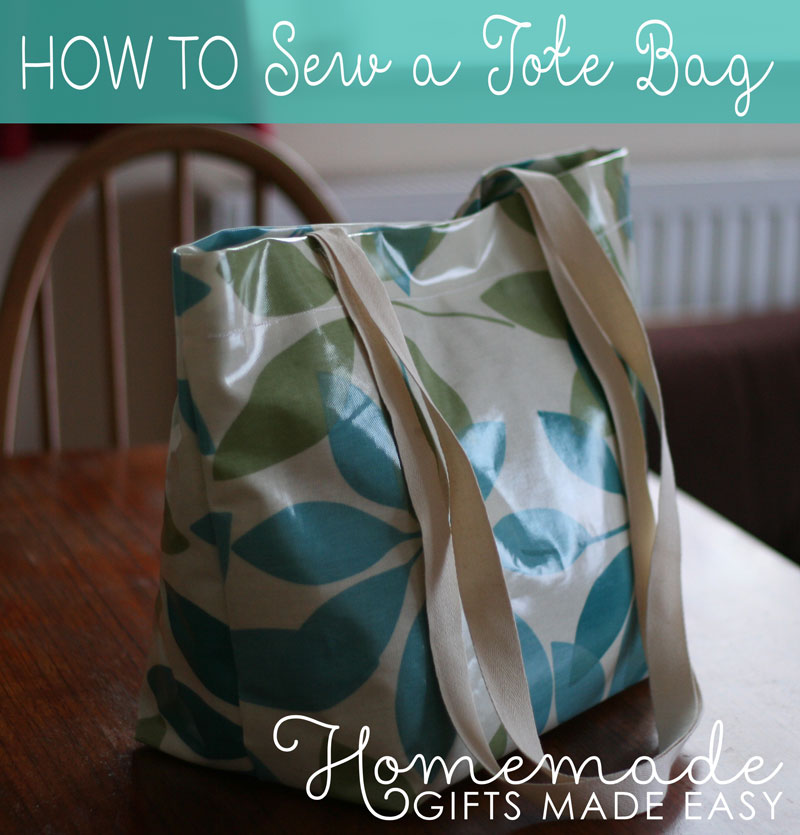
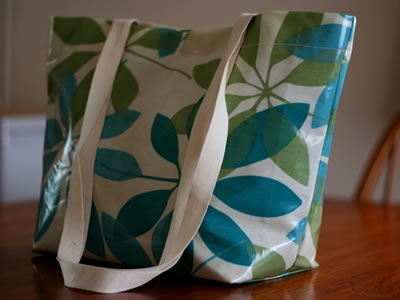
Here is a picture of the finished bag. It is about 20 x 18 inches in dimension, so really quite roomy and a good size for the beach or a summer picnic.
The design is based on a bag I saw on a Martha Stewart show that was assembled using gaffa tape and staples. The gaffa tape and staples didn't work well for me (fell apart!) but I really liked the simple design so decided to sew it instead.
How to Sew a Bag - Materials
I made this bag out of oil-cloth (a.k.a. "laminated fabric") which gives it a really sturdy feel and makes it water resistant - perfect for when you're out and about. I love oil cloth as it comes in such a fabulous array of patterns from vintage polka dots, stripes, floral designs, or more modern abstract and artistic print patterns.
Oil cloth can be a challenge to sew if you haven't sewn with it before. I've got some handy tips below to help make it easier, but if your machine isn't up to heavy-weight fabrics you can also use a lighter fabric. There's a point when you're doing the seams when the machine has to sew through four layers of fabric (just for a 1/2 inch or so at the edges), so you'll need a sewing machine with a reasonably strong motor, or else stick to lighter weight fabrics.
For this project, you will need:
- Scissors
- Pencil
- Ruler
- 20 x 36 inch (50 x 90 cm) piece of oil cloth laminated fabric (or use a upholstery-weight fabric reinforced with heat-n-bond iron-on vinyl)
- 2 yards (1.8m) of 1 inch (2.5cm)-wide cotton webbing for the straps (choose a colour to match your fabric)
- plastic rectangle for base (I've recycled a plastic note-pad cover which I cut to size)
- sewing machine with appropriate needle for heavy weight fabric (I used a leather needle for this project)
- Optional: magnetic bag clasp and craft knife
I made this bag with a magnetic clasp at the top but this is not essential. If you don't want to add the clasp, just skip the first section.
How to Sew a Bag - Instructions
Before you start sewing...
I set my sewing machine to do a straight stretch stitch . This stitch is pattern is sewn with two stitches forward and one stitch backward, forming a seam that does not rip easily. It is usually used to reinforce areas such as crotch and armhole seams and is also used for constructing backpacks as it provides extra strength. I thought it would be a good stitch to use for my tote bag as I can see it will get loaded up with heavy shopping at times!
You'll notice that I haven't pinned the edges together before I sew. This is because oil cloth is easily damaged by pins, and also it doesn't tend to move around when you sew it anyway. So as long as you sew slowly and keep an eye on the alignment of the two layers as you feed the material into your machine you'll find you don't need to pin your fabric. If you're using lighter weight fabric then you might want to pin the layers in place to ensure you get straight lines.
Putting in the magnetic clasp
Lay your piece of fabric pattern-down on your work surface. Rule a line across the shorter-ends of the bag, 2 inches (5cm) in from the edge.
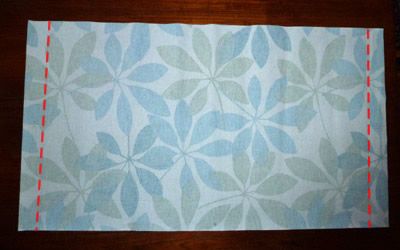
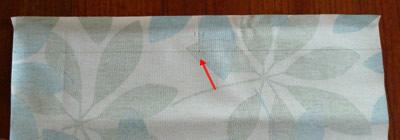
At the half-way point of the line you just drew (10 inches in, or 25cm) draw another line at right angles. This will help you put your magnetic bag fastener in the middle of your bag.
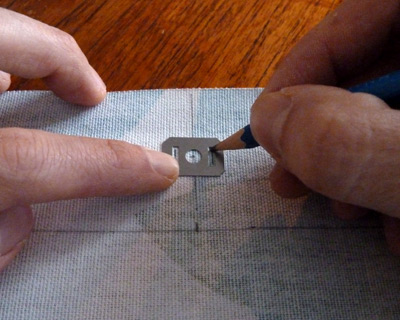
Place the metal fastener backing centrally along this short line and draw markings so you know where to make small cuts to attach the magnetic clasp.
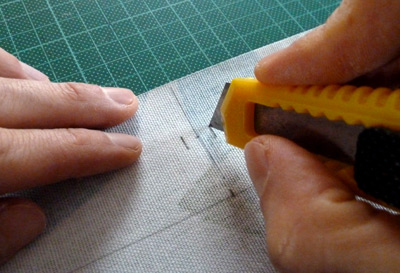
Make small cuts with your craft knife through the fabric as shown.
Now insert the magnetic clasp and fasten in place.
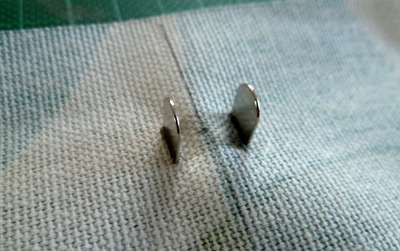
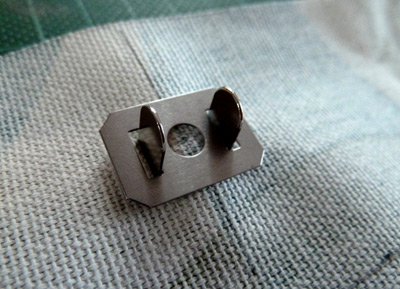
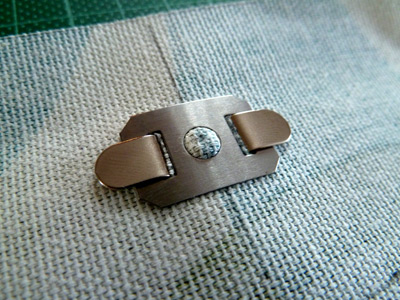
So at this stage, if you turn your fabric pattern-side up you'll see that you now have the magnetic clasp attached at either end of the fabric (the one on the left is a bit hard to see in the photo below but trust me it's there :-).
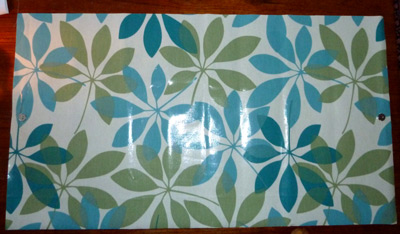
How to Sew a Bag - Sewing the sides together
The next step is to fold your material in half with the pattern facing inwards. Your clasp will join the two ends of the bag together temporarily.
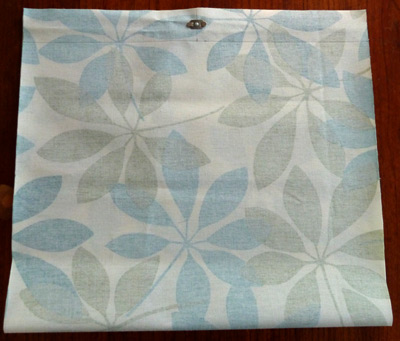 Before sewing sides
Sew along each side of the material to join the two edges of your bag together. Sew 1/2 inch (approximately 1 cm) in from the edge of your material. As always when you're sewing it's good practice to do a few backstitches at the beginning and end to prevent unravelling.
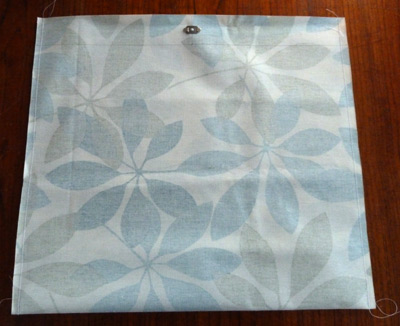 After sewing sides
How to Sew a Bag - Sewing the top hem
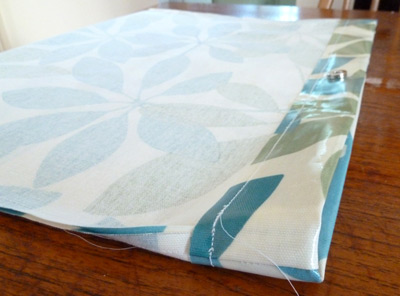
Now fold over the top of the bag so that you have a 2 inch (5cm) hem.
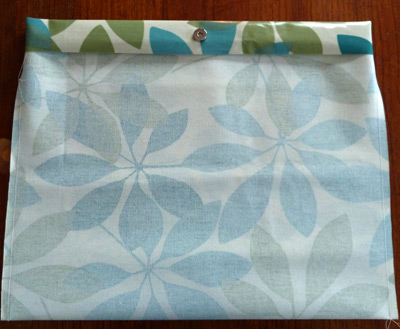
Sew around the top of the bag using a 1/2 inch (approximately 1cm) margin.
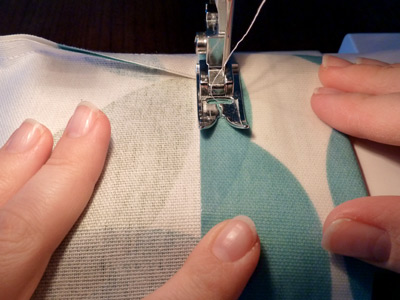
You might find that your sewing machine has difficulty pulling through oil-cloth fabric. If this is the case you can work around it in several ways. One is to buy a teflon-coated foot (expensive option if you don't think you'll be doing many other projects with oil cloth). I find the problem can also be fixed by sewing through a layer of dress-maker's pattern paper or baking parchment. The machine foot can slide well over the paper and any other fabric underneath it is pulled through too. Just cut out long strips of paper and lay them over the area you want to sew.
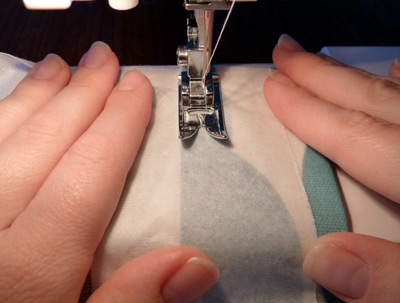 Sewing with baking parchment to help sewing machine foot slide over the oil-cloth.
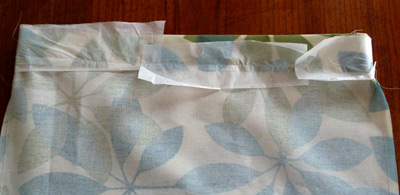
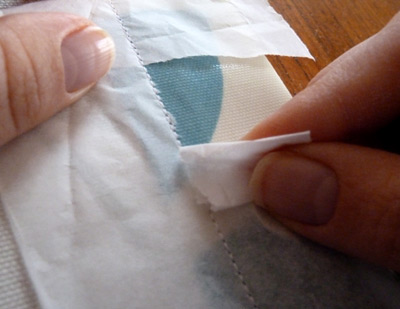
If you do use the paper-method, then simply tear off the paper once you've completed the seam.
How to Sew a Bag - Sewing the straps in place
Measure and mark up wear you'd like the straps to be. It is really up to you. On this bag mine are approximately 5.5 inches from each edge.
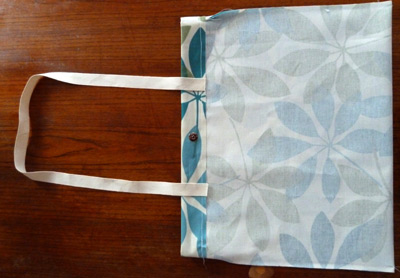
When you sew your tote straps in place, it's a good idea to fold the end of the webbing underneath to give a small hem so the raw edge doesn't fray.
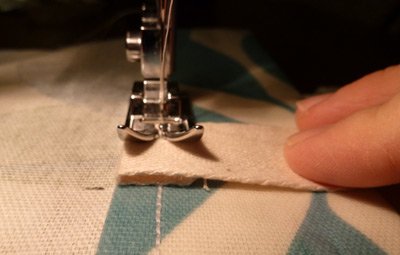
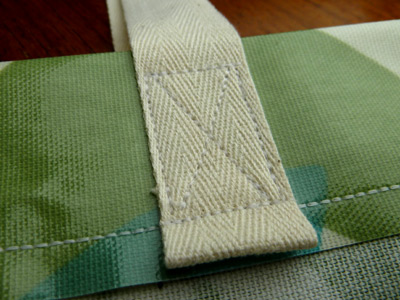
It is really up to you how you sew on your straps. I like to do a square with a cross through the middle for extra reinforcement.
How to Sew a Bag - Giving your bag a base
Now it is time to sew the corners of the bag so your bag has a rectangular-base.
Flatten the corner of the bag, so that the side-crease is flat against the bottom of the bag.
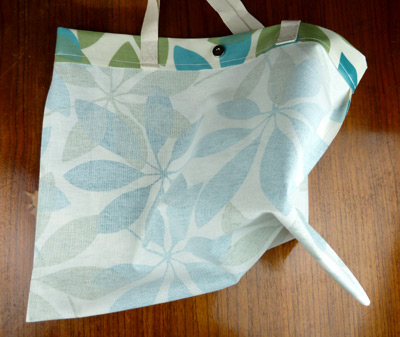
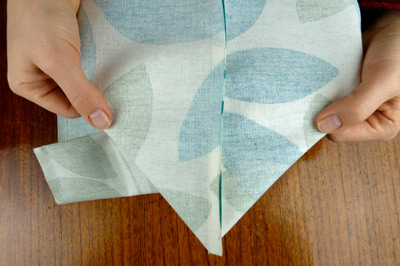
Mark a spot about 3 1/2 inches (approximately 9 cm) from the point of the corner.
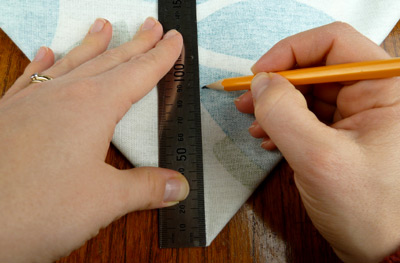
Draw a straight line across, perpendicular to the seam at this point.
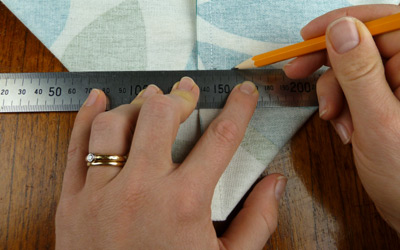
Sew along this line.
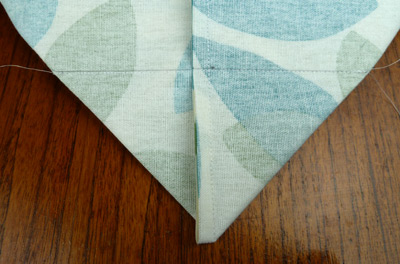
Cut off the corner of the bag, leaving about a 1/2 inch (approx 1 cm) hem.
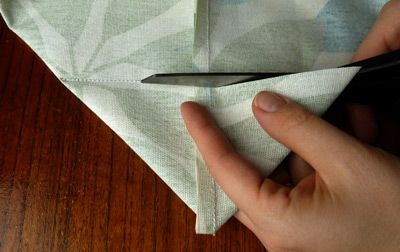
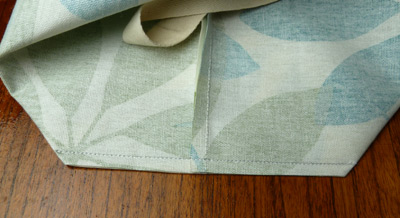
Repeat for the other corner too, and then you'll really see your tote bag taking shape.
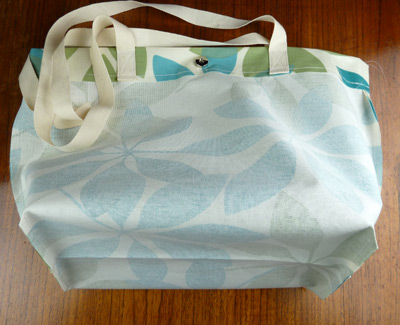
How to Sew a Bag - Finishing off your bag
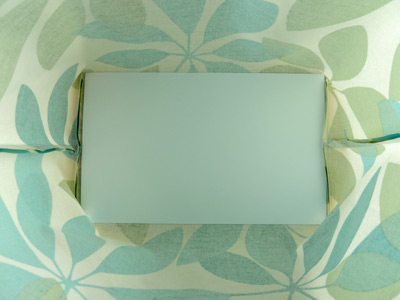
Turn your bag out the right way, and place your rectangle of stiff plastic in the base just to give the bag a bit of extra support.
And this is the finished bag. Perfect for days out to the beach, picnics, shopping, and all those other lovely summer pursuits!
I hope you found my instructions clear and that you enjoyed learning how to sew a bag! If you have any questions or comments, or just want to say hi, please contact me with this handy form .
You might also enjoy...
Many of these sewing projects are so simple you don't even need a machine:
