How to Make a Bulletin Board
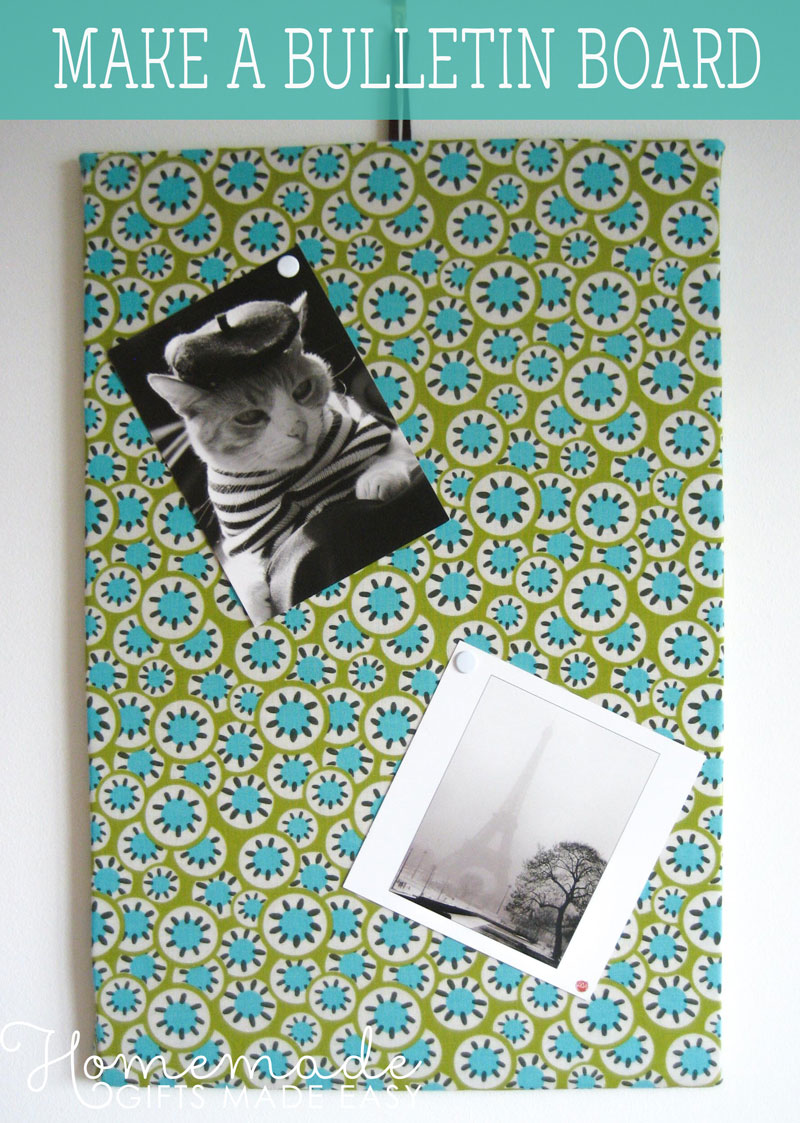
Make a bulletin board covered with funky fabric for your next homemade gift idea. They are super easy to make, inexpensive, and practical!
Materials
To make a fabric memo board, you will need:
- thick cardboard (I found a large cardboard box in the recycling bin at my apartment, and cut it down to size)
- colourful cotton fabric
- a small length of matching ribbon
- ruler
- pencil
- cutting board
- cutting blade
- duct tape
- craft glue
Instructions
To make a bulletin board, firstly you'll need to decide how large you would like your board to be.
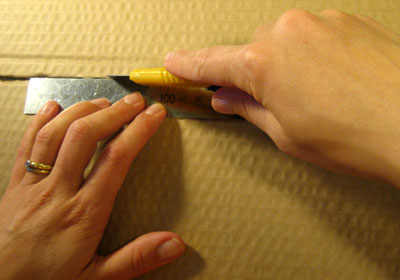
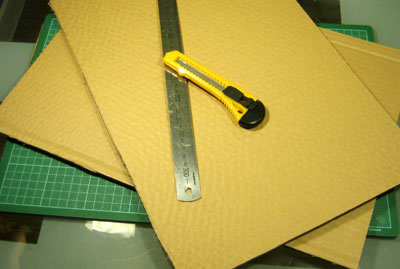
Cut out two pieces of cardboard of this size (it's easiest to use a blade and ruler to cut cardboard, as scissors just seem to get stuck!). Use a cutting board or a newspaper to protect your work surface.
I chose to trace around my craft board because it is quite a good size for a memo board (20 x 12 inches), and was easy to do!
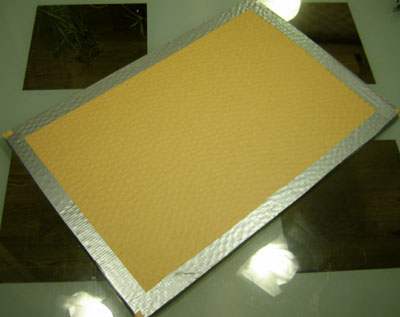
Now you need to secure your two pieces of cardboard together. This will give your board stiffness, and ensure that the pins won't go completely through and mark the wall behind!
I taped the two pieces of cardboard together using duct-tape.
Cut your fabric down to size. Allow for an extra 2 inches or so of material around each edge.
Lay your fabric down, and place the cardboard on top.
Using drawing pins (thumb tacks), secure the fabric down on to the back of the cardboard (this will only be temporary, until we have glued down the edges of the fabric). Don't pin right at the edge of the fabric, keep a 1/2 inch or so flap spare.
Work your way around the board, making sure you keep the fabric tension nice and tight.
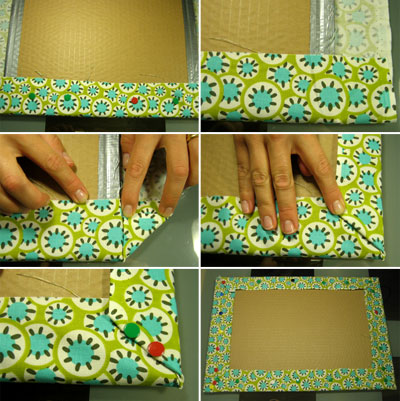
Now glue down the fabric onto the cardboard backing. Just spread glue under the edge flap of fabric and press down into place.
At this stage, you'll also want to add a small loop of ribbon from which your memo board will hang. Pin the ribbon in place (it has to be at a center point along the edge of the board so the memo board will hang straight).
Glue the ends of the ribbon down onto the cardboard.
To secure the ribbon properly glue down a piece of tough fabric (I used calico) onto the back of your board. I just glued the edges of the square of fabric down to secure it in place.
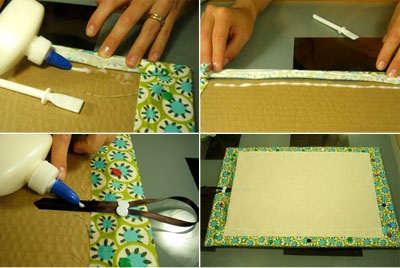
Alternatively, you can just secure the back of the ribbon with a small rectangle of material. Glue it down really well, as this will be the region that has the most force on it when your bulletin board is hanging.

Once the glue is dry (I left mine overnight), remove the drawing pins from the back of the board. Now it's finished and ready to use! Use it as a photo-board or a kitchen memo board or give it as a gift :-)
You might also like...
I hope you enjoyed learning how to make a bulletin board. If you're looking for more easy homemade gift ideas, take a peek at these other ideas. Go on, you know you want to!
