How to Make Gift Bags in 30 Seconds
Learning how to make gift bags is easy - I'll show you how. The design on this page is so easy you'll learn it in no time.
The great thing about this design is that there are only four folds, so it's really quick to fold. Which is nice if you're making many of them, e.g. lots of little homemade Christmas gift bags for your friends and family.
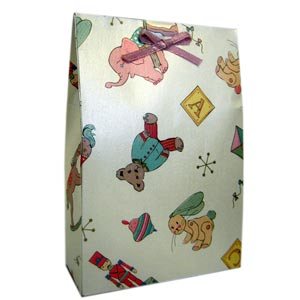
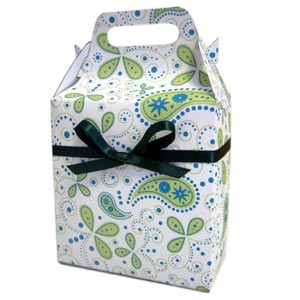
You can make really pretty bags if you use patterned paper:
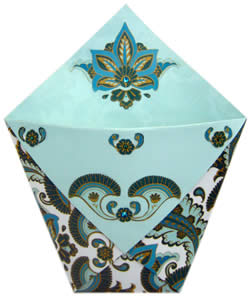
My sister went to a birthday party where every child at the party was given a little bag like this, full of candies. What a nice idea :-)
Make Gift Bags Step by Step
Materials
All you need is a square sheet of paper. That's it!
Step 1
Start with your square sheet of paper arranged like this:
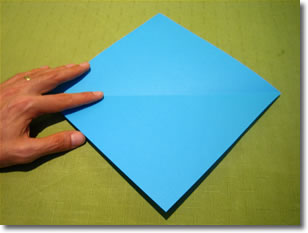
Yes, that sheet of paper really is square. It just looks a funny shape because of the angle of the photo.
Step 2
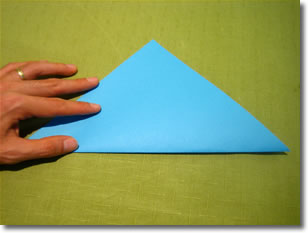
Fold in half along the diagonal, so that the bottom corner meets the top corner.
Step 3
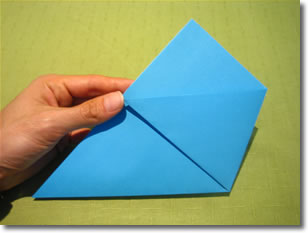
Fold the right hand corner up like this. Notice that the corner just touches the edge of the paper (where my thumb is).
Step 4
Now fold the left hand corner up. It should just touch the right-hand side of the gift bag.
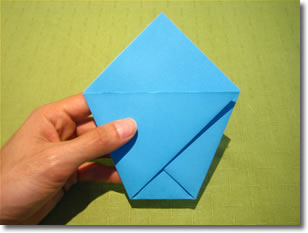
Step 5
Fold one of the top flaps down, so that it covers the bottom two flaps.
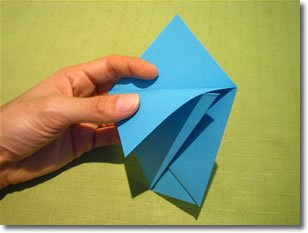
Step 6
Congratulations on finishing your gift bag! Now you can fill it with candy or other treats.
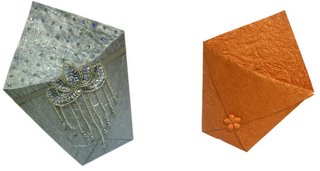
You can also decorate the bag with buttons or sequins, like the two bags in the photo at the very top of the page. (My mom made those ones - thanks mom :-)
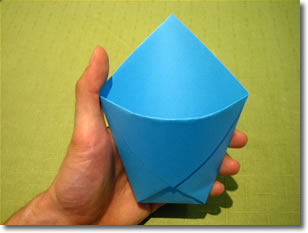
How did your origami gift bag turn out? I hope you found my instructions clear. If you have any comments or suggestions or just want to say hi, please contact me with this handy form .
Other projects you might like...
Now that you've learned how to make gift bags, why note have a go at one of these:
Or see my full list of gift wrapping ideas.
