Beautiful Origami Envelope
Folding Instructions
This delightful origami envelope opens up like a flower, and only takes a few minutes to make. Let me show you how to fold it...
You can make your own envelope like this and use it as a way of wrapping a flat gift (e.g gift card or jewelry) or enclosing a letter. Or you could write a letter directly on a square piece of paper and fold the envelope from the letter itself.
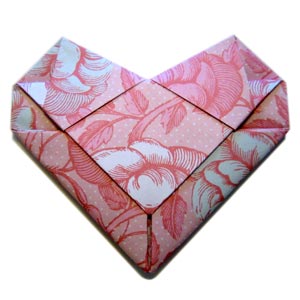
I love how elegant this origami envelope looks. It has a really pleasing symmetry to it.


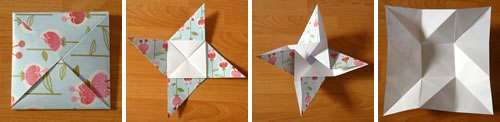
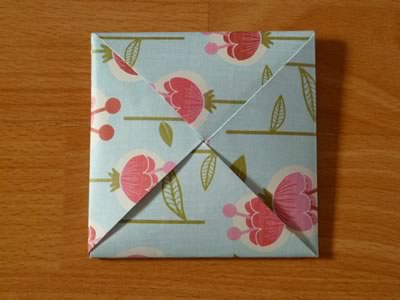
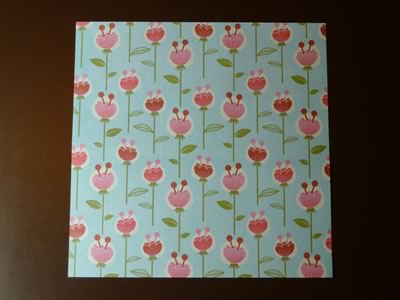
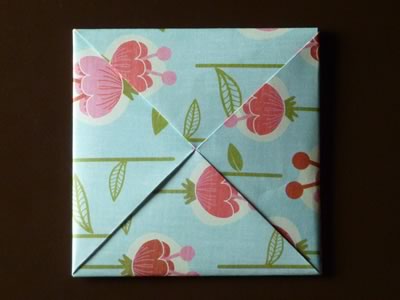
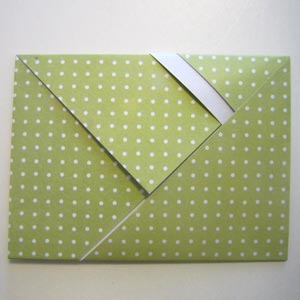
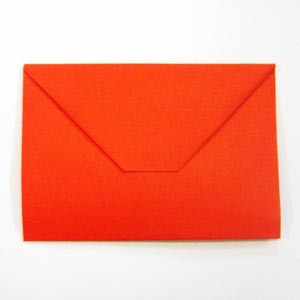
The closed envelope is a square shape.
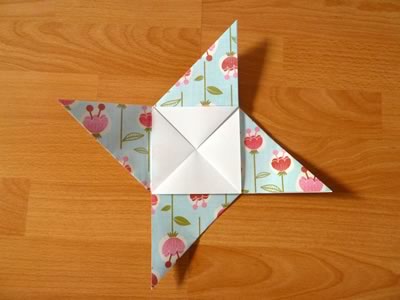
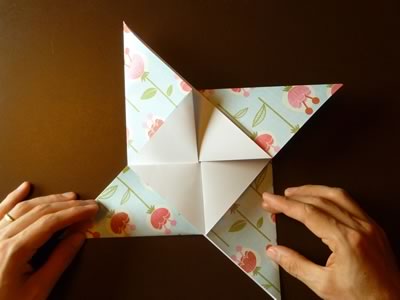
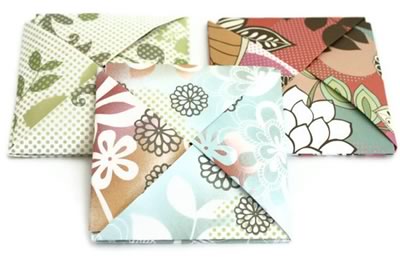
It opens out like a flower into this pinwheel shape.
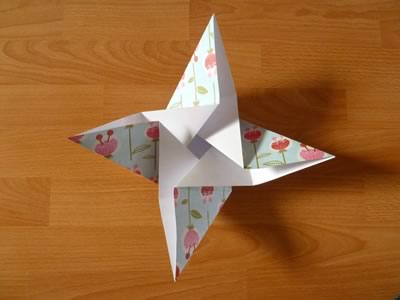
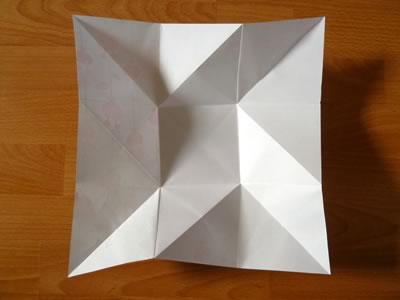
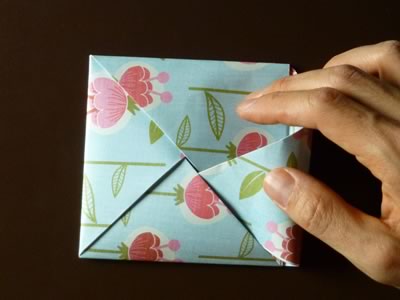
It also opens out another level into a square.
Neat, isn't it?
Ready to make your own origami envelope? Choose from:
Video Instructions for Origami Envelope
Click the image below to play the instructions. Making your first envelope will take about 5 minutes, and after that you'll probably be able to make them much faster.
If the video keeps stopping and starting, then pause it and come back in a few minutes when it's fully loaded. Or instead just follow the step by step photo instructions below.
Photo Instructions for Origami Envelope
Step 1
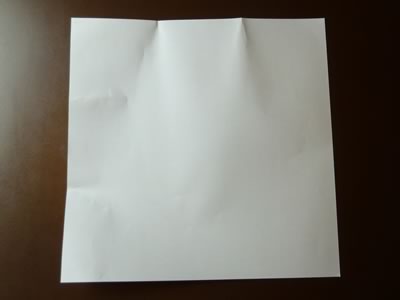
Start with a square sheet of paper. I'm using a sheet that's 12x12" (30x30 cm). The final envelope will be 1/3 of the size of the sheet you start with.
Fold the sheet into thirds. You could use a ruler to measure thirds, but I find that the quickest way to measure thirds is to bend the sheet into a Z-shape...
...and squash the Z flat to make little creases at the 1/3 and 2/3 points along the paper's edge.
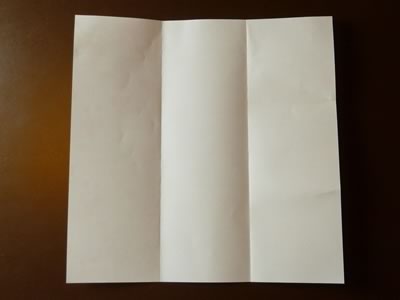
Place your paper blank-side up. It will have little creases at the 1/3 and 2/3 points like this:
Use these guide creases to fold the sheet into thirds and unfold again.
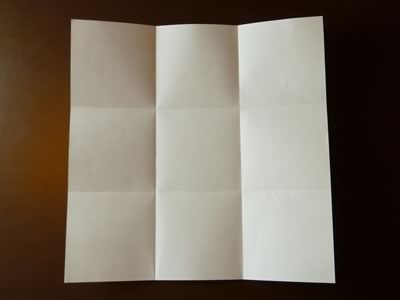
Fold in thirds at right-angles to the first set of creases. Your sheet should now look like a noughts-and-crosses board, like this:
Step 2
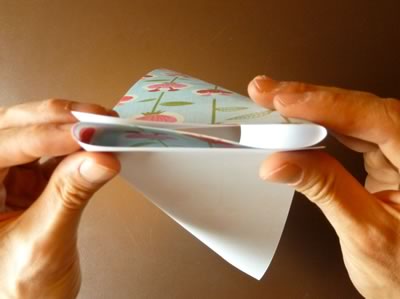
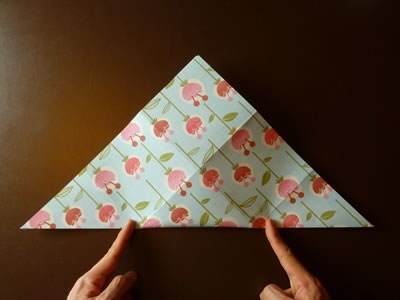
Rotate the sheet so it's oriented diagonally. Fold in half diagonally, but try to only make the crease in the left and right sections shown here by dashed lines.
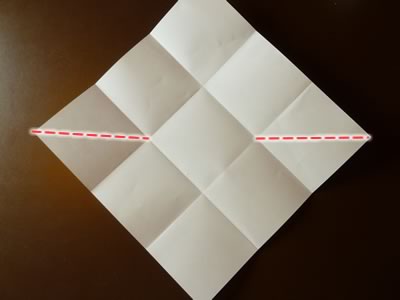
Here's the paper folded in half. The sections to the left and right of my fingers are creased firmly, but the section between my fingers isn't creased.
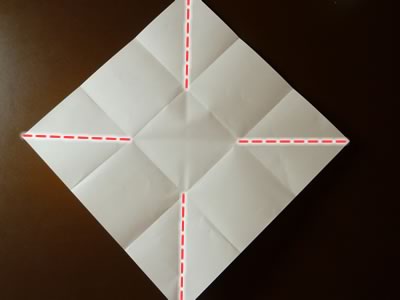
Repeat the same fold at right angles. Your paper should now have creases in the places shown by dashed lines in the photo below.
Step 3
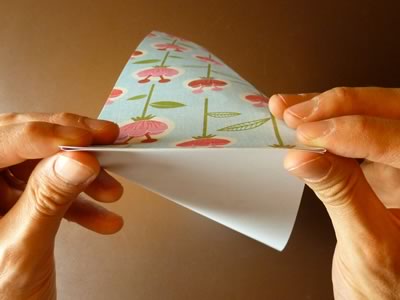
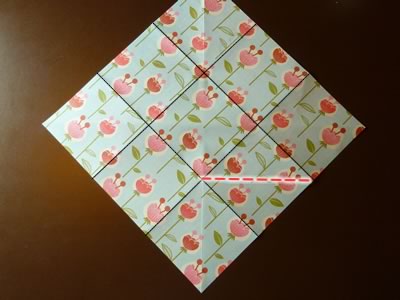
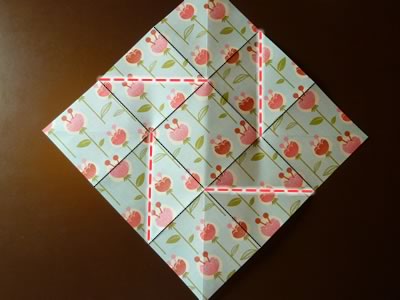
Turn the paper over so that the colored side faces up, and make a crease in the position indicated by the dashed line in the photo below. (I've drawn the other creases in black just so you can see them more clearly).
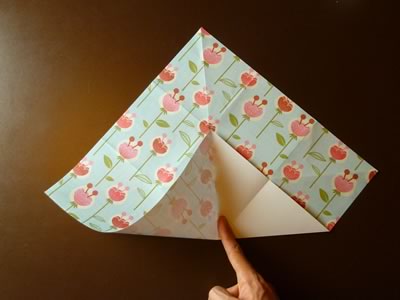
Here's another view of what it looks like when you make this fold. The section to the right of my finger is creased firmly, but the section to the left of my finger isn't creased.
Rotate the paper a quarter turn and repeat the fold. Continue all the way around the square so that you have creases in the positions shown by the dashed lines in the photo below.
Step 4
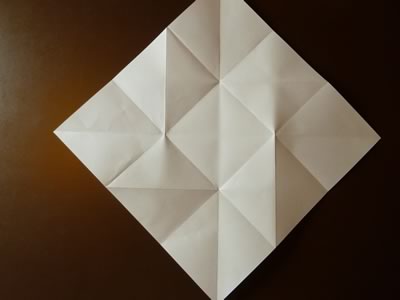
Turn over the paper so that blank side faces up. It should have a pattern of creases like this:
Grab the left and right corners and bend them so that the sheet bends into a bowl shape.
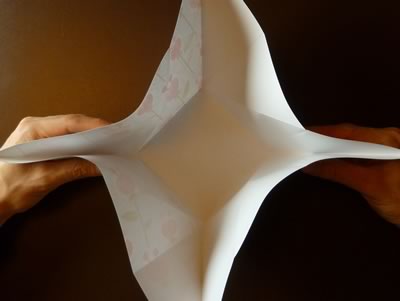
Push the sides of the "bowl" inward.
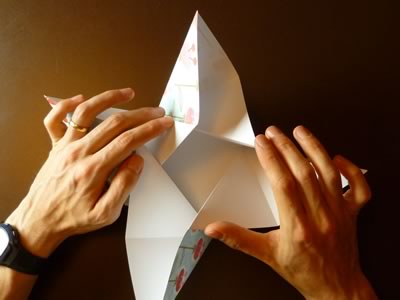
As you press the sides in, the "bowl" will magically collapse into this pinwheel shape (see 4:50 in video .)
Step 5
Fold in the corners of the pinwheel one by one, working around in a clockwise direction.
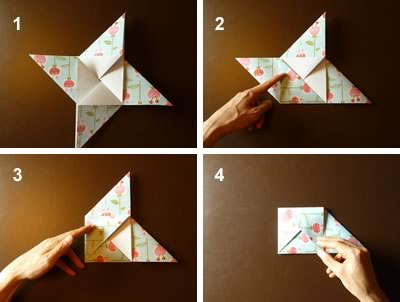
When you get to the last corner, tuck it in like this.
Here's the finished envelope
How did your origami envelope turn out? I hope you found these instructions clear. If you have any questions or comments, or just want to say hi, then please drop me a line with this handy form .
Using your Origami Envelope
Reader Reshma wrote in saying how she plans to use this envelope design to package the jewelry that she makes.
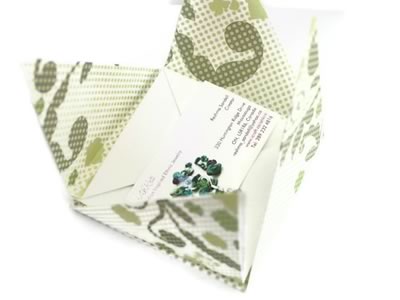
Thanks for sending in your photos Reshma!
What Next?
If you enjoyed making the origami envelope, you might also like:
Or check out my page of gift wrapping techniques.
br