Paper Christmas Decorations
{Free Template & Instructions}
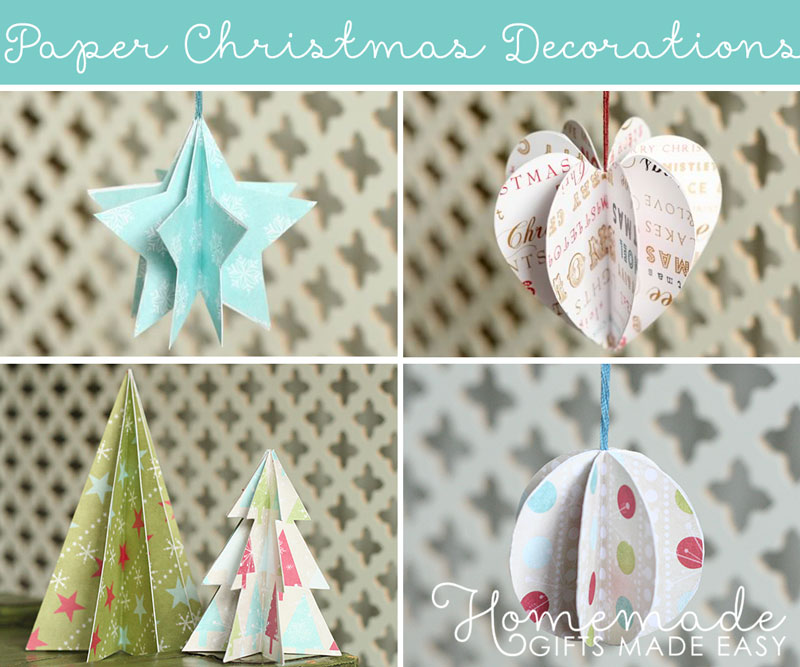
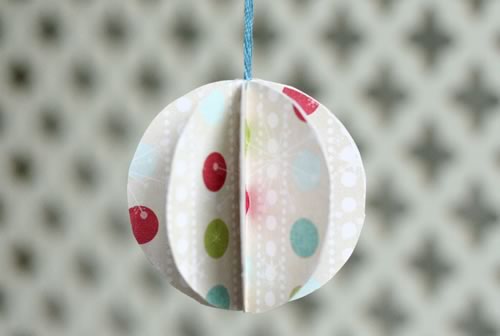
These 3D paper Christmas decorations will look fabulous hanging from your tree! Easy to assemble, and we've made shaped templates for stars, hearts, round baubles, trees and more!
I love these paper ornaments, they are so simple to assemble and look fabulous hanging on the tree or around the home.
The tree design sits flat so makes a good mantle or table decoration too.
I think the finished decorations look lovely, and you can really alter the feel depending upon the paper that you use.
If you're into a more modern design, use some bright colors, or for a more vintage feel use recycled paper from old books, magazines or music scores.
Materials to Make Paper Christmas Decoration
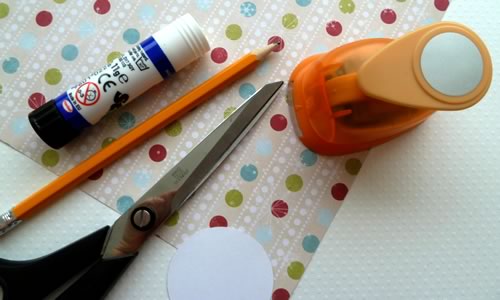
To make these decorations, all you need is:
- decorative paper. I've used Christmas scrapbooking paper, but you can also use recycled christmas cards, pages from books or magazines or any pretty wrapping paper that you have.
- Paper glue
- Scissors
- Pencil
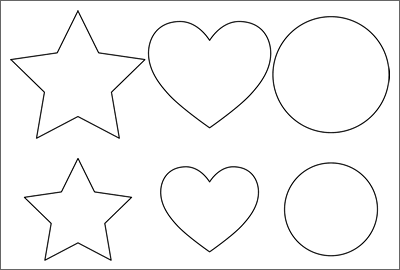
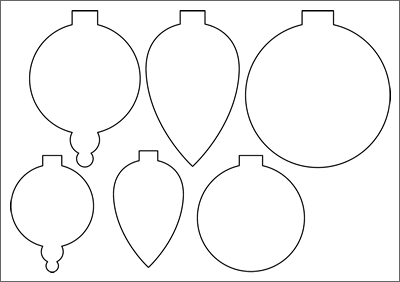
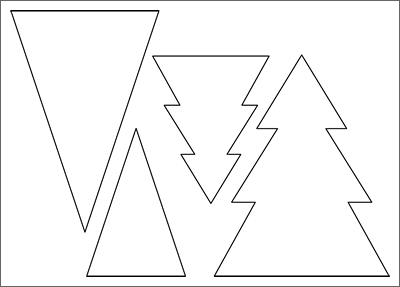
- Shape template
- Short length of thread, embroidery floss or thin ribbon to hang your decoration
- Optional: you could also use a craft punch to cut out your shapes rather than our template.
Download a Free Template
Download my paper Christmas decoration templates (pdf):
Take your pick of round, bauble, star, heart, or tree-shaped ornaments.
Print and cut out the template for the type of decoration that you would like to make (it helps to trace onto cardboard (eg. cereal box) so your template is sturdy).
How to Make Christmas Decorations
Step 1
Trace around the template onto the reverse side of your decorative paper.
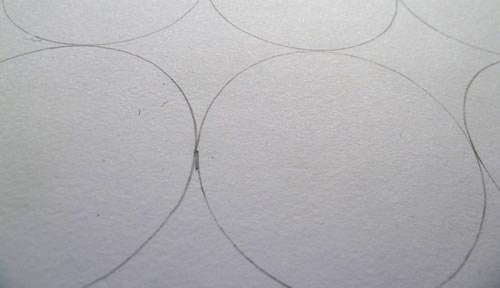
Cut out 8 copies of the template.
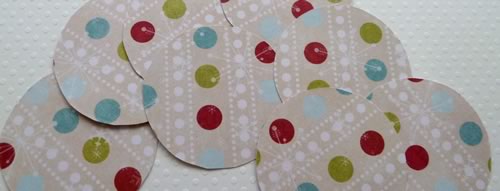
Step 2
Fold each piece in half down it's vertical center-line.
So for the tree this would be from the pointed tip through the center of the base, for the heart through the pointed base etc.
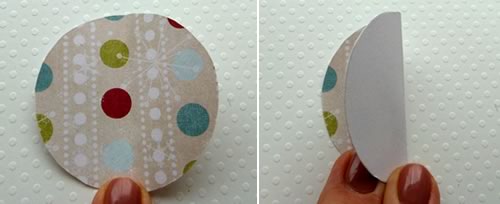
Take two of your cut pieces and glue half of one to half of the other.

Continue gluing together until you have glued 4 pieces. Then repeat, so that you end up with two half-ornaments. Each will have 4 pieces of paper glued together.
Step 3
Now it's time to attach the string and glue your ornament together.
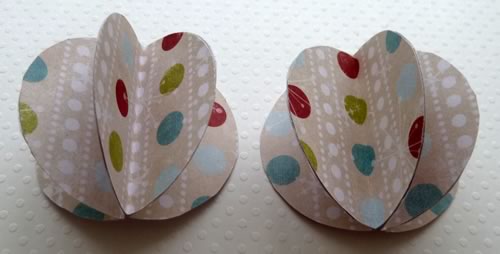
Cover one surface of the decoration with paper glue and place the ends of the string in the center crease. Cover with some more glue and then press the second half of the decoration down firmly. You can put the decoration in a book at this stage to dry flat.
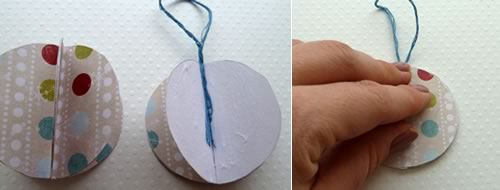
Once the glue is dried, fan out the panels of the decoration into a 3D shape like this.
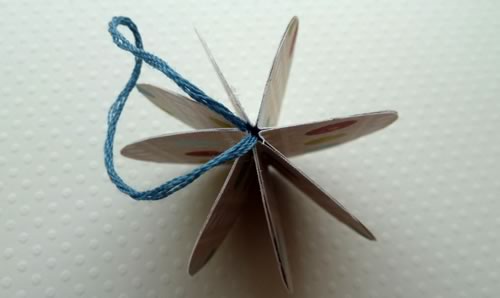
Such a simple design and so beautiful!
How did your ornament turn out? If you have any questions or comments, or just want to see hi, please leave a comment below .
More Christmas Decorations to Make...
I hope you enjoyed making these paper Christmas decorations! If you feel like making more ornaments, do look at our gallery of DIY ornament projects:
Other People Also Like...
Check out these beautiful printable gift ideas for Christmas. So easy to personalize and print at home!

