Paper Easter Basket Instructions
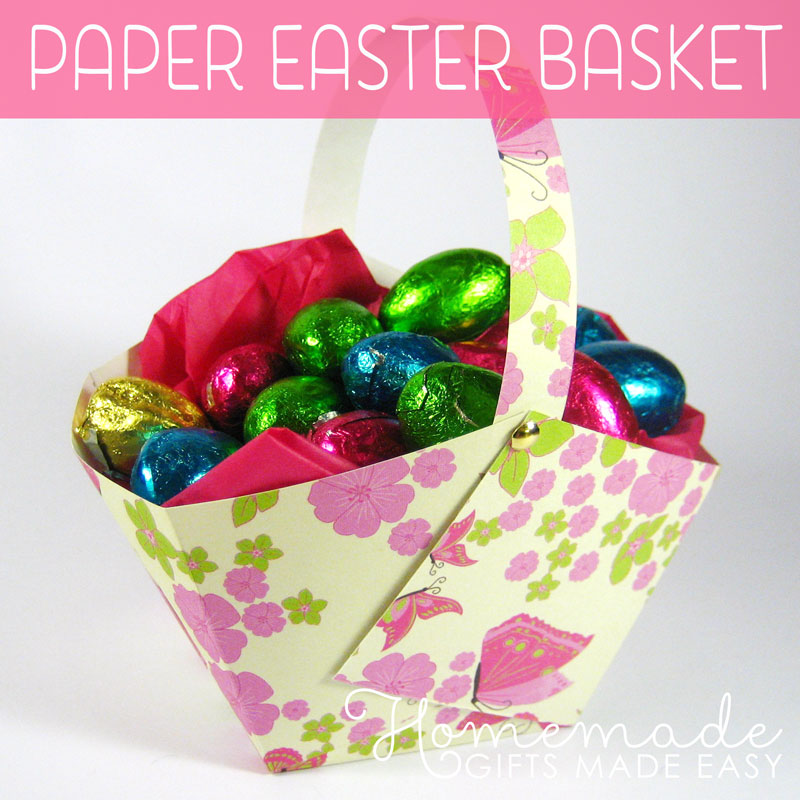
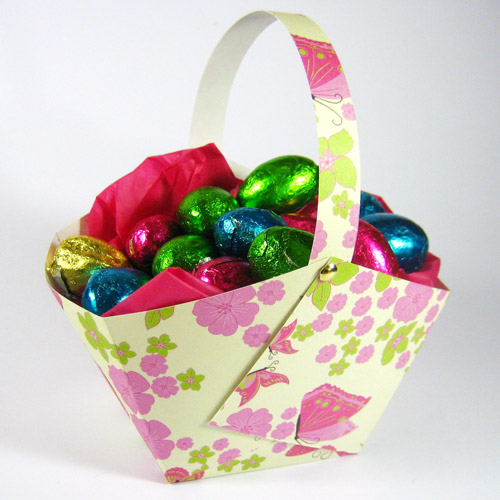
This paper easter basket design is just the sweetest! It is so quick to make too! All you need is a square sheet of paper or card, and some scissors and glue. Make a few snips and folds, and in literally five minutes you'll have a lovely homemade Easter basket that you can fill with chocolates or other Easter gifts!
Materials
You will need
- Sheet of paper or card. A 6" (15 cm) square makes a nice mini-basket. You'll also want a thin strip to make a handle.
- Pencil
- Ruler
- Adhesive tape or glue
- Optional: Brads or other decorations
That's it! This design is one of my favorite Easter basket craft ideas because you need so few materials and it's so easy to make.
Paper Easter Basket Instructions
Step 1:
Place your paper nice-side-down.
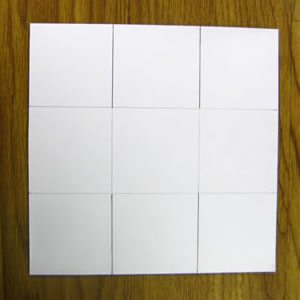
With a pencil and ruler, draw an evenly spaced 3 by 3 grid onto the square, as if you were going to play noughts-and-crosses. I usually use a 6" square of paper, so my lines are spaced 2" apart.
Fold and unfold along each of the lines to make a crease.
Step 2:
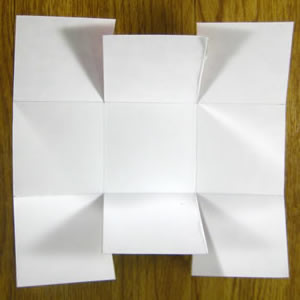
See how in the photo from step 1, the lines going in from the top and bottom are drawn a bit darker? Well, you want to cut along those lines, so that your piece of paper looks like this:
Step 3:
Fold up the left and right sides of the paper to turn it into a basket like this. Tape or glue the folds into place. I like to use adhesive tape because it's quicker. If you put it on the inside of the basket then you can't see it anyway.
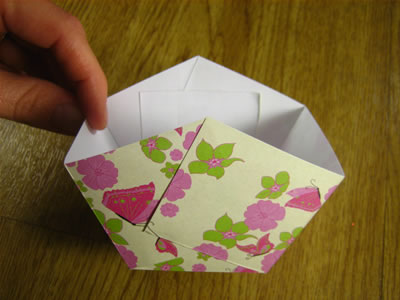
Here's a close-up showing how the folds go:
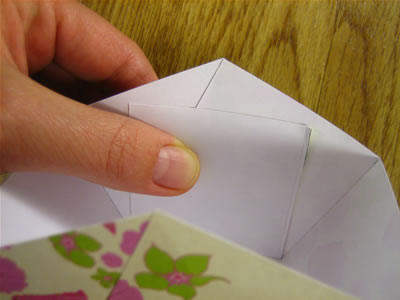
Step 4
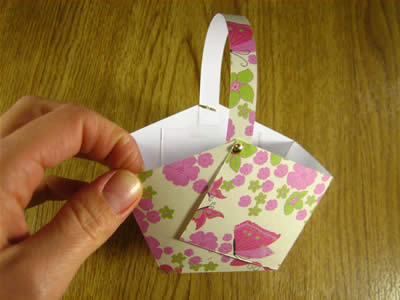
Use a thin strip of paper to make a handle, and tape or glue it on. The strip should be about the same length as your square, e.g. I used a 6" square to make my basket, so I used a 6" long strip to make the handle.
I also put some brads through the base of the handle just to make it shiny :-)
Step 5
Now you've made your paper Easter basket, it's time to fill it up with goodies!
You might also like...
Still feeling crafty? Here are some other pages I think you might enjoy:
